EBB`s Toyota » Gorolla » project.
(As there are so many foreign ( not Norwegian ) readers at my web-page i will use English text on this Project page. )
I have had quite a few project cars the last years and some of them are available on this web-page.
You have the EBB`s Beach Buggy : a all out insane journey with a very special car , of course all over the hill in effort and parts made :
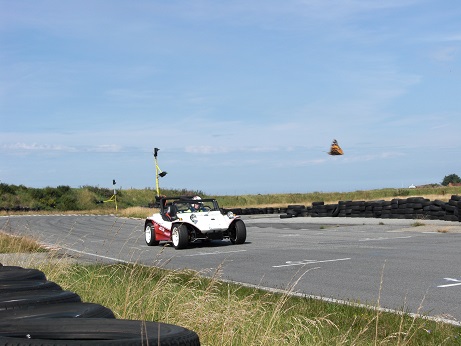
https://www.ebbt.no/ebbs-buggy/
Then there is the » Micro & Maxi » Nissan Micras :
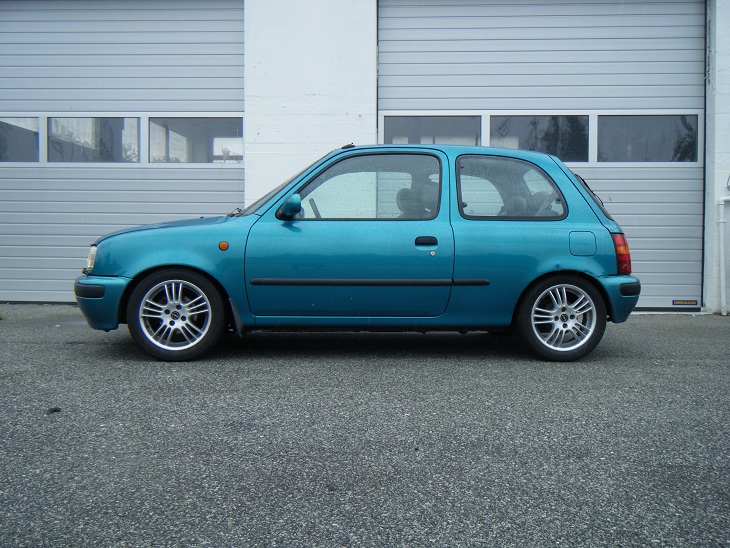
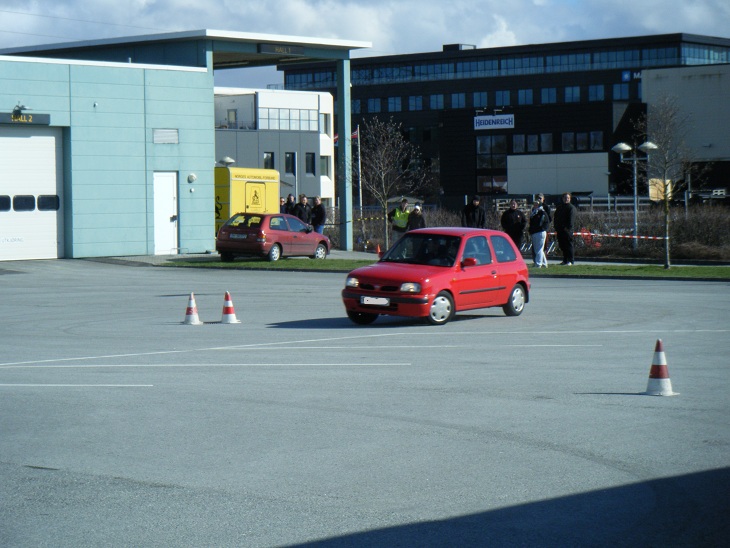
https://www.ebbt.no/ebb-s-micra-micra-prosjekt/
https://www.ebbt.no/ebbs-maxi-micra-project/
More moderate effort but still decent results in many ways..
The » EBB`s Yoda project :
https://www.ebbt.no/ebbs-yoda-prosjekt/
Also that way over the hill one could say 🙂
The key for all these projects are : MORE & BETTER !
But sometimes i wonder , why make things more complicated than they need to be and can i have fun with something totally ordinary and boring ?
————————————————————————————————————————————–
Chapter 1 : THE REASON WHY..
In my country , Norway , cars are more than often exspensive , complicated and ,, well lets face it ; modern.
Modern is ok , but it makes it difficult to do small changes and subtle modifications to something better as the factory already have thought of so many details to make it ; a modern car.
I was in the mood for a new project but not just any car.
There were 2 spesific criteria in mind.
It must be ORDINARY and it must be BORING 🙂
Why ?
Just because..
At the same time it must be simple , well built and hopefully a cheap car.
How can i ever find something like that ?
Being a enthusiast here in Norway you get used to all the taxes and fees you have to pay to drive your vehicle according to the laws and regulations.
It is not uncommon to pay as much as 10 000 NOK or the equivvalent of 1200 + Dollars or in the region of 1000 pounds yearly just in insurance and road-tax alone , on any wehicle no matter what.
That fact alone makes it discouraging even thinking of a second or third car 🙁
BUT , where there is hope there is life 🙂
If you can settle for something older , you can get away with peanuts compared to a newer car.
So that makes it easy , it has to be a veteran car , sort of speak.
In Norway that means that the vehicle have to be older than 30 years and then cars were actually very cool so how do i find a very boring car from that timeframe ?
After reading , Googling , watching videos and God knows what i finally remembered something from my younger days.
My friends father , who lived just a couple of blocks away from me , used to take us on trips to the beach , into the mountains and drove us to the movies in , what i thought at that time , was one of the most BORING and ORDINARY cars EVER !
Sitting in the back of that car was almost like pure punishment , knowing that all the people in the street and cars could see us in this tin-can of a car.
More than once did i crouch down , sort of hiding inside , hoping my friends didnt see me in this tragic ,
» going to the mall with granddad » utterly ugly car and not to forget the insane ugly color on that car ; mustard Yellow !
With 4 doors and a interior so boring that even a stamp-collector nerd would look for the emergency exit signs..
…………………………………………………………………………………………………………………………………………………………………………
Chapter 2 : THE DISCOVERY
Ok , so far so good but how will i aquire such a stupendious silly car ?
I started the quest by looking in local newspapers for quite a long time. checked all the for sale webpages and even looked in some of the clubs and forums for such a car. All in vain and for several months i looked for it.
Some of my wishes in a car would be a rust free , well maintained and looked after car , hopefully with a low mileage.
Dahhh !
You wish and it seemed to be a total lost game even from the start as these cars dont exist in that condition,,or do they ?
One day a friend of my showed up in my workshop and as always we talked about cars and he then let me in on some gossip about a lot of classic Japanese cars going to be for sale soon..
A couple of brothers had collected many classic 60 / 70 and 80`s Japs and they planned to establish a private museum and never got around to finish the plans.
In fact almost 40 cars were to be sold , he said.
WOW , this sounds like a great opportunity to get a good car ?
After some further investigations i was able to get in contact with one of the owners of the cars and he informed me that the decision to sell all cars havent been made yet but they did have a few ready for sale right now but not to just anybody walking in.
I had to arrange for a private showing and got an appointment the day after to come and see.
My first available option was a Mazda 626 – 83 model , Orange color and very nice interior and so so exterior.
But for me there were something missing. Although it was a veteran car older than 30 years , i didnt connect with it.
More like 70`s car was what i was looking for.
Almost all of these cars at this location has been here in a temperated room for the last 15-20 years. All of them have its own dedicated cover hiding them for the layers of dust history presents after such a long time.
I lifted all of the covers and just suddenly it was there , the most boring and ordinary car i hade ever seen 🙂
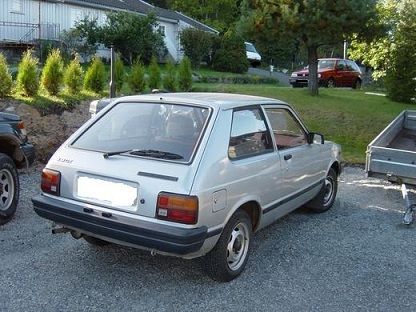
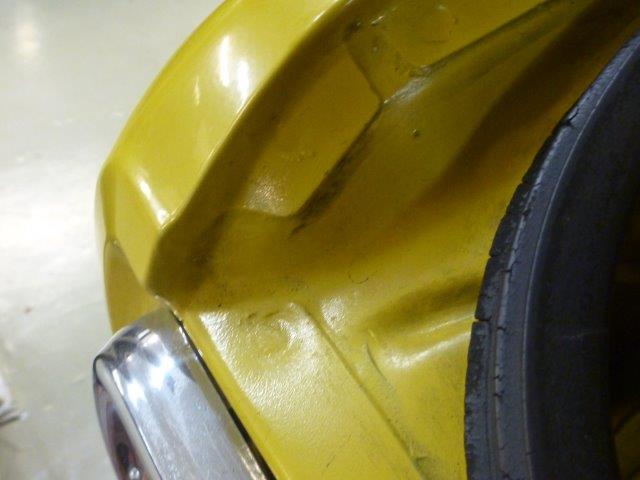
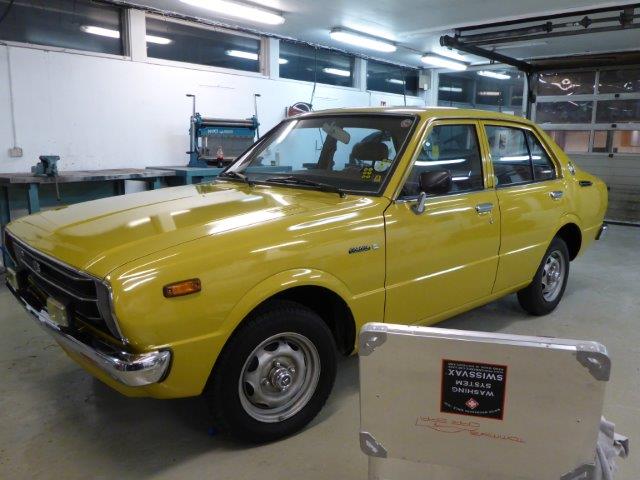
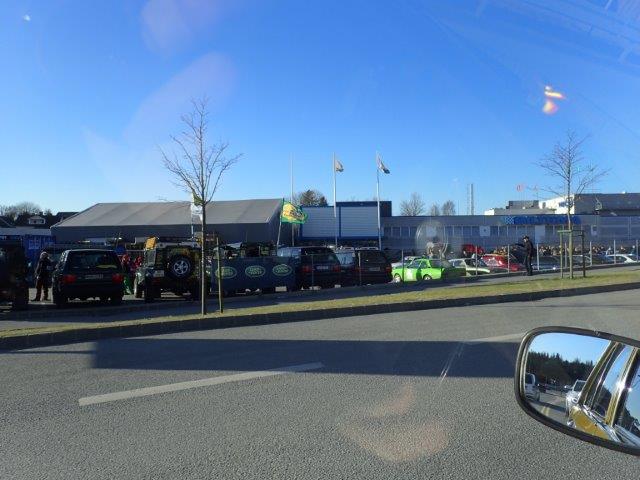
As i can not show any pictures of the location itself or pictures of the car at the location i just have to show pictures from the time when the car was picked up and driven for the first time in 16.5 years. ( yes you read right )
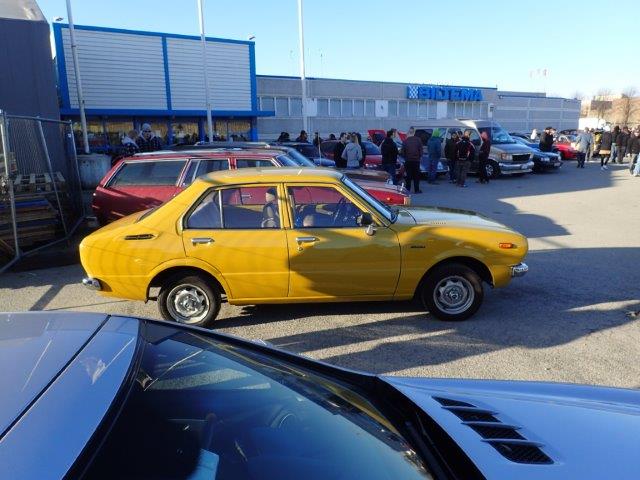
Here is the car 15 minutes after i picked it up and my short drive home back into time in this time machine :
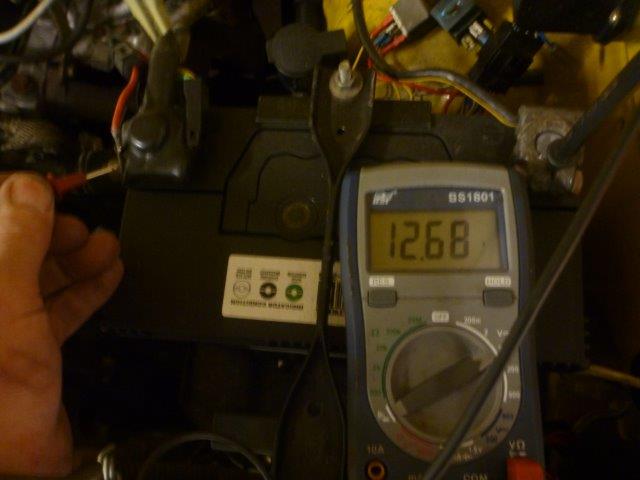
The car last drove and ran more than 16 years ago and it started withing 1 second after the battery was put in and cranking the engine afterwards , and that is almost INCREDIBLE 🙂
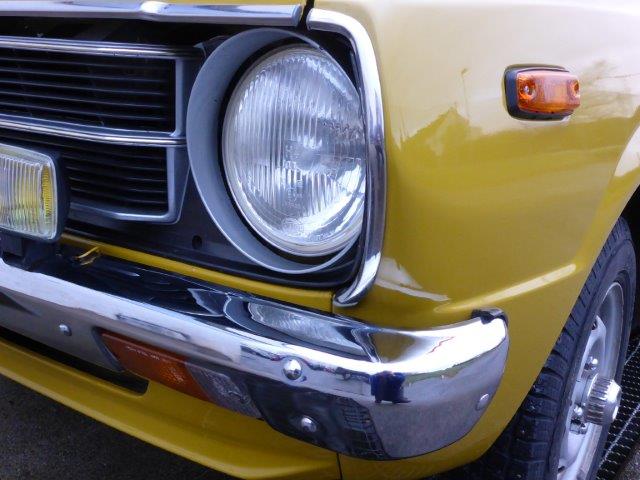
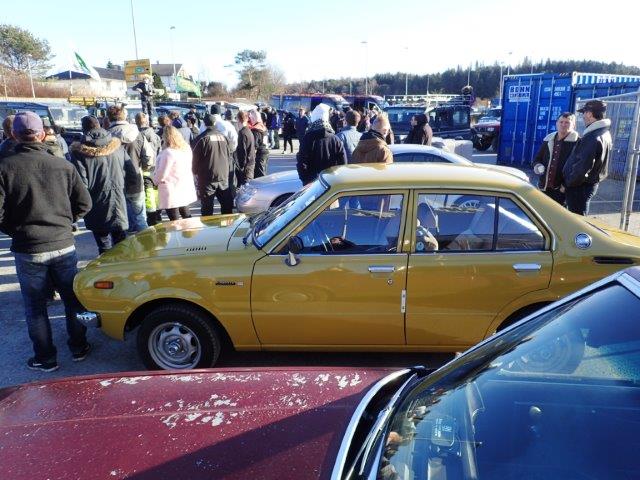
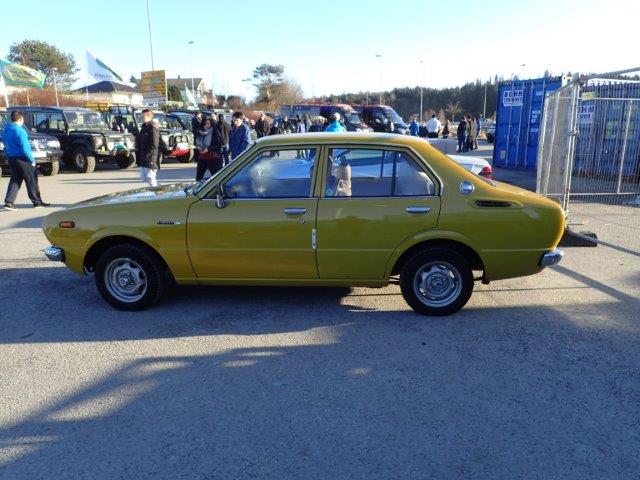
So , here i have it.
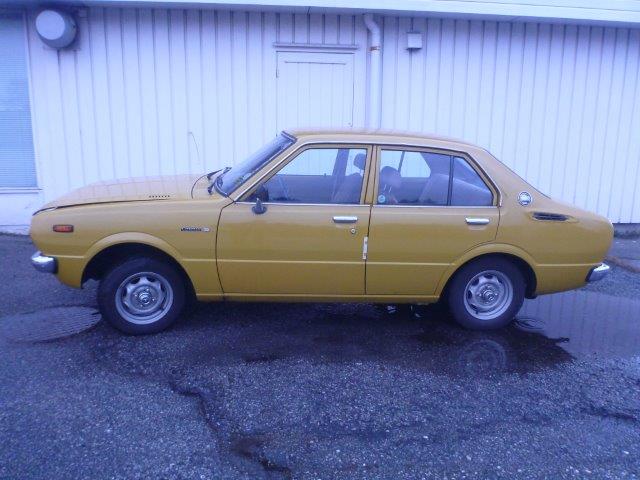
One very boring and ordinary car :
Toyota Corolla DL -1977 model with 4 doors and a 1,2 liter engine 🙂
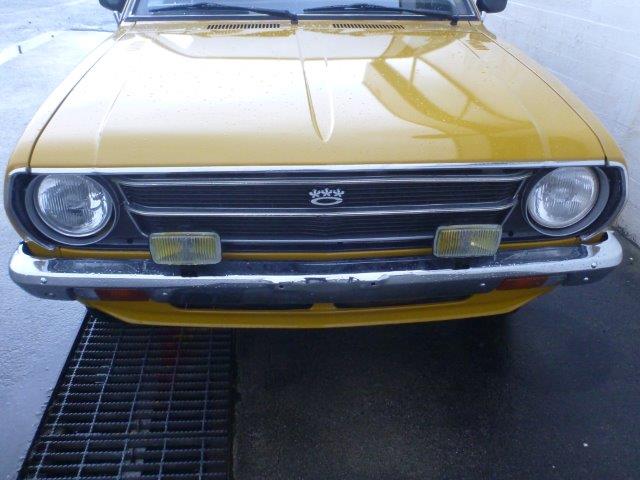
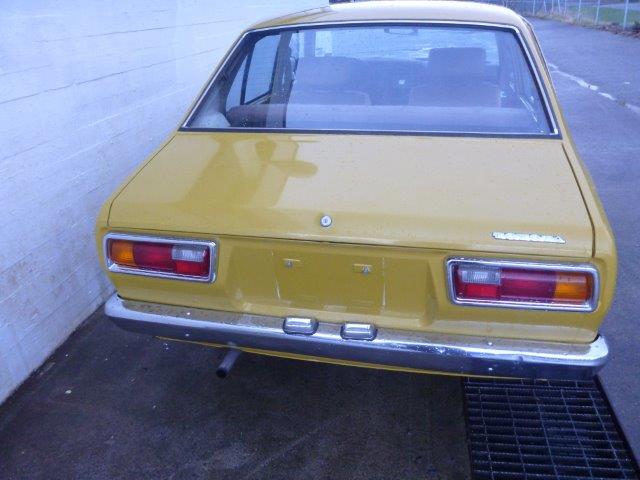
Front and back :
My first thought was ; what the heck am i doing ?
My second thought was ; how do i get rid of it ?
BUT , the following story of this project is not to be missed and it will reveal and contain some pretty cool stuff !
Check in later when i discover more about this little grandad`s car and find some pretty interesting info and material inside the trunk and the glove compartment 🙂
———————————————————————————————————————————————
Now it is time to open the trunk and check a little bit around the car.
The collector said there were some stuff in the trunk but i didnt have time to check that before now.
Let us pop the lid :
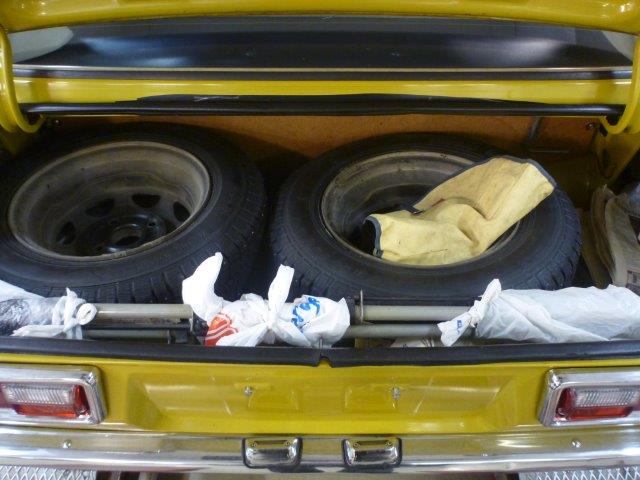
Hm,,,doesnt look to exiting but at least here is a original tool kit :
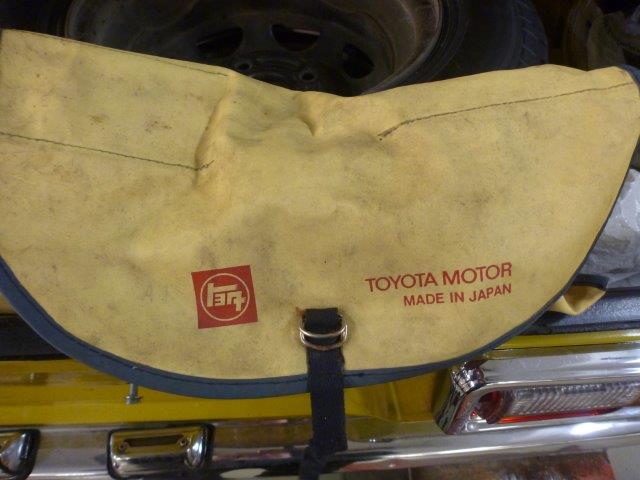
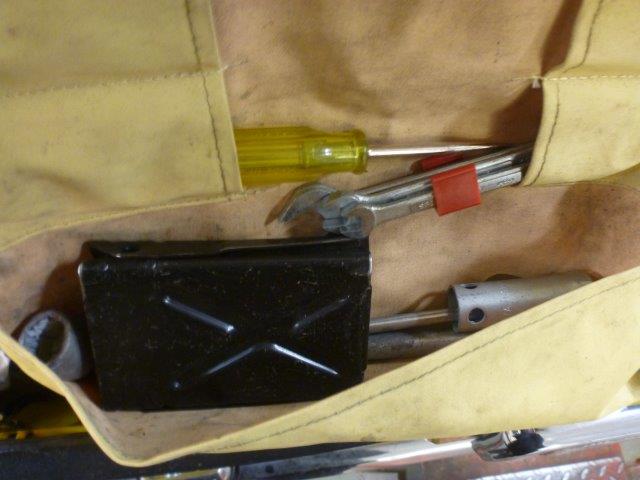
Could come in very handy 🙂
And have a look at this roof rack , packed in old shopping bags from the 90`s :
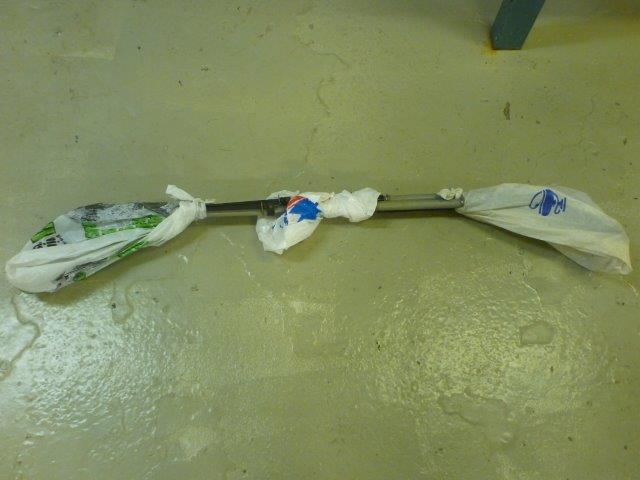
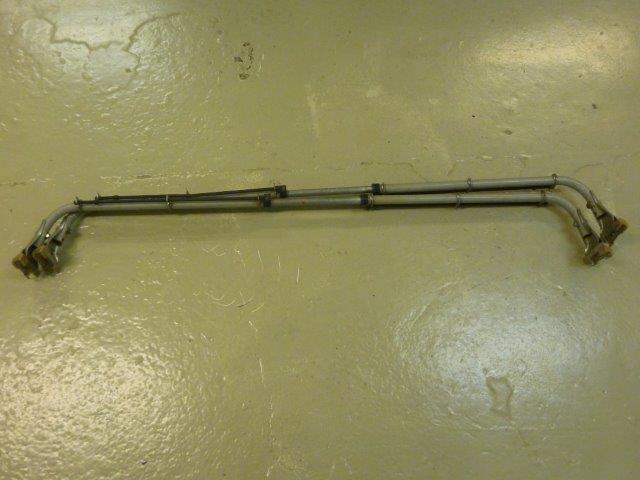
Perfect for my surfboard and it is very easy to Mount on the rail of the roof.
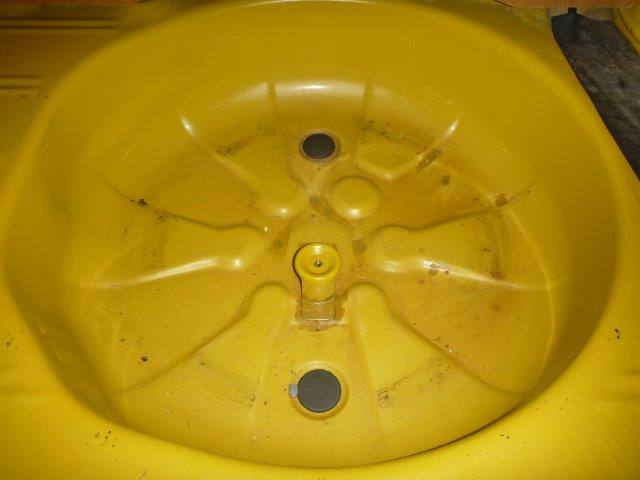
And have a look at this , 4 Perfect Winter tyres which i actually need immidiately in this Winter day and how great is that 🙂
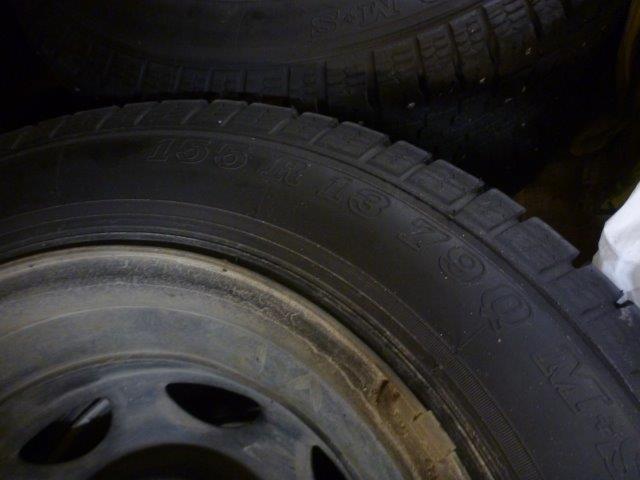
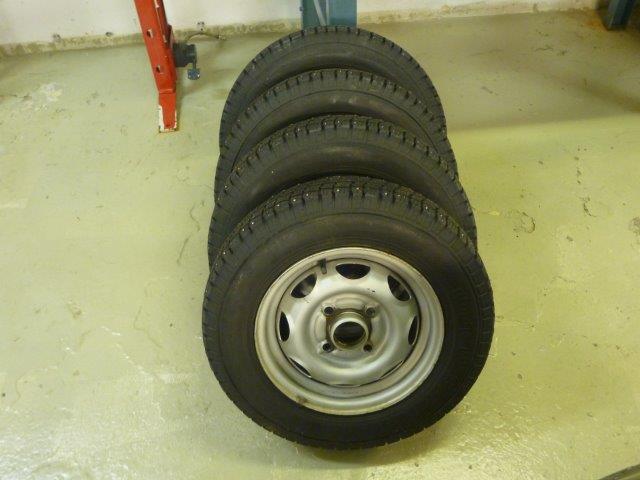
Of course all the senter cups are there and the rims are the original when the car was bought 🙂
There are some papers in the trunk and the date is definitely not today :
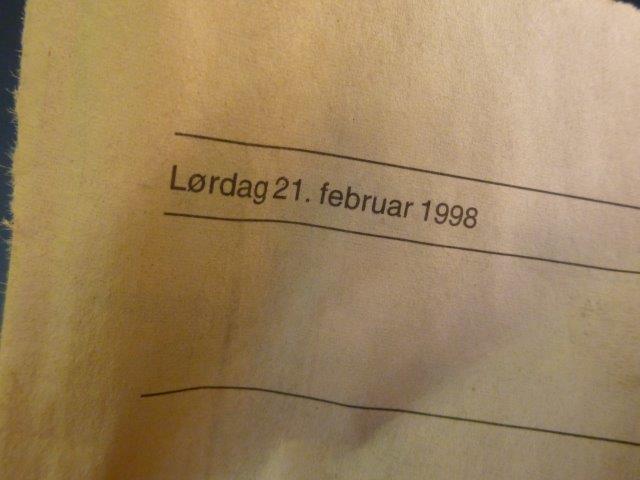
I know the car has been standing still the last 16,5 years in a temperated room and before that it stood for 3 years in the first and only owners garage so it has not been driven for the last 19,5 years on the street so maybee that is why the paper is there 🙂
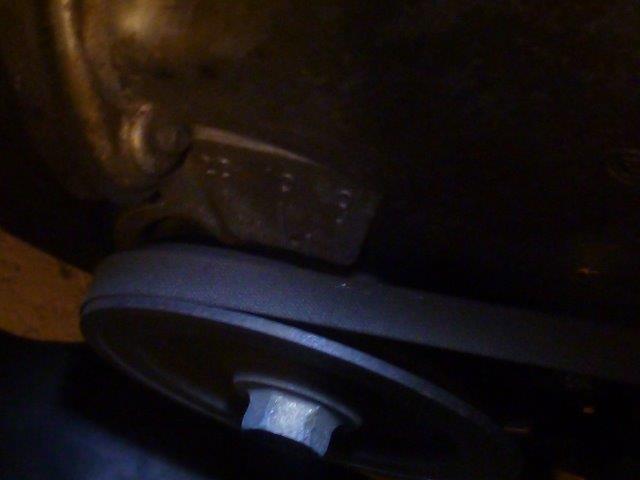
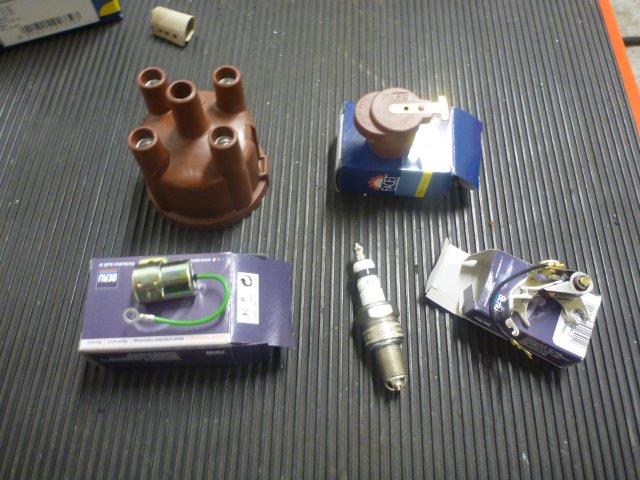
There is more in the trunk :
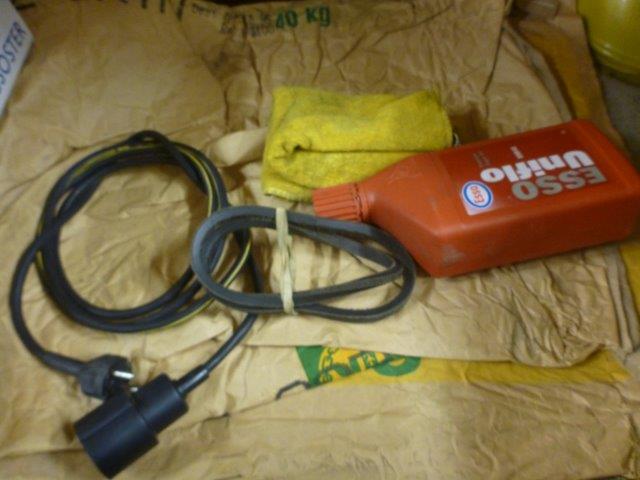
This speaks volumes of how meticulous the owner was with his car. You never know when you are going to need a spare drive belt or some premium oil 🙂
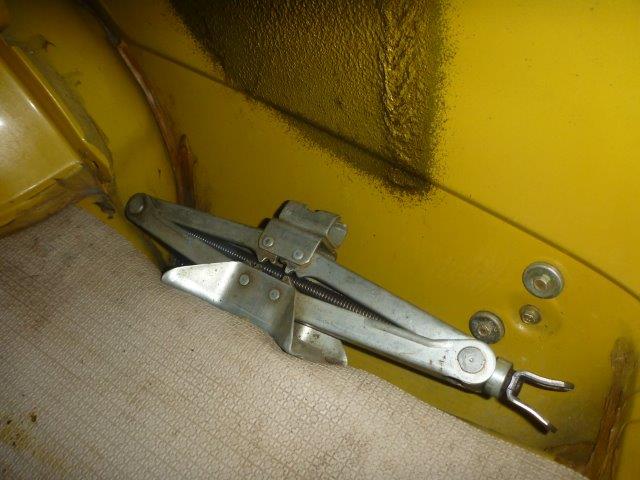
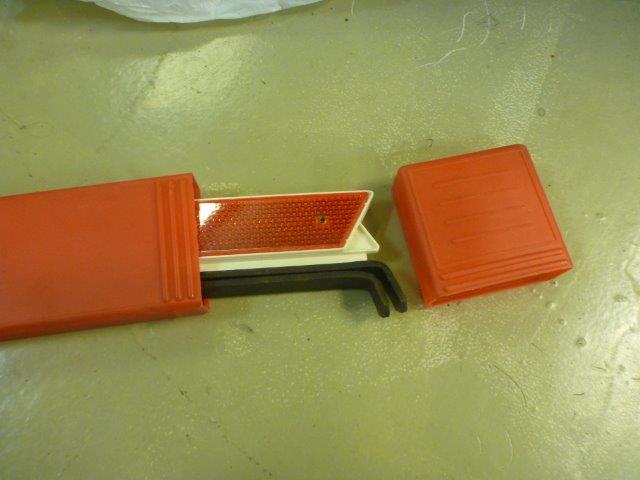
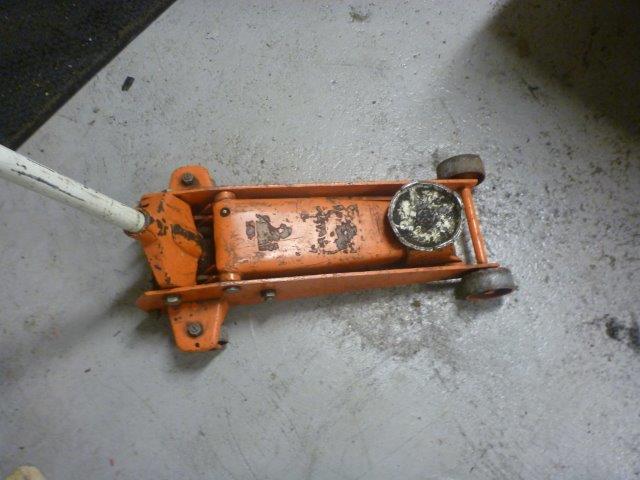
The original jack and emergency sign is of course present there :
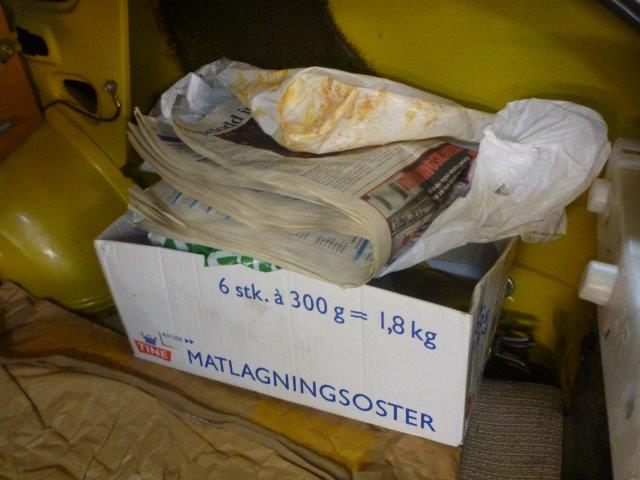
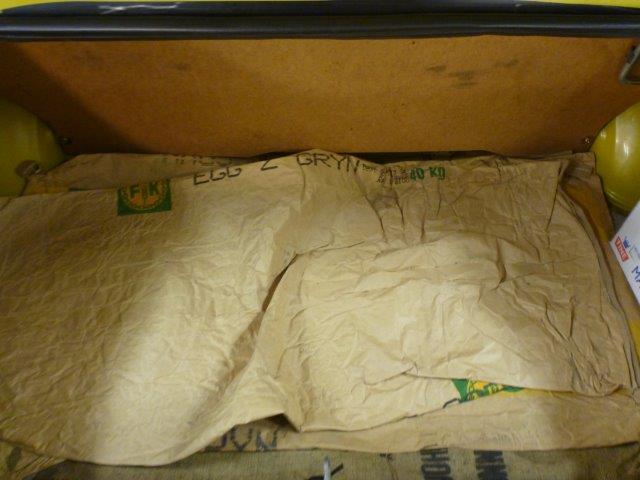
In the bottom of this wonderful time-machine there are some potato sacks , also with some time frame correct dates :
All the way in the bottom of the trunk you will find the original spare wheel in a totally untouched area of the bottom of the trunk , with zero rust :
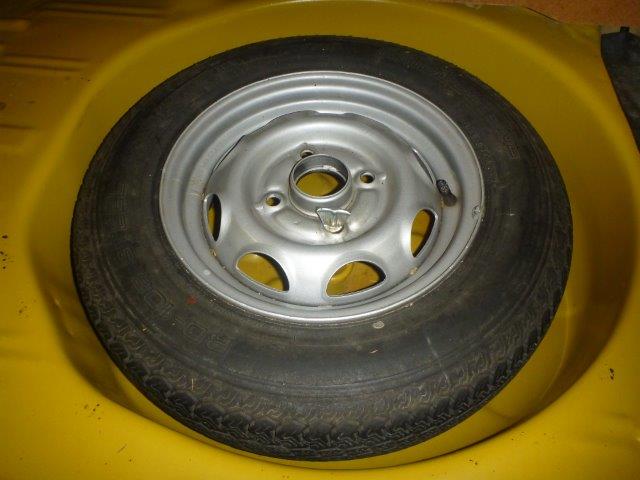
And this is also the case for the rest of the trunk area , NO RUST whatsoever :
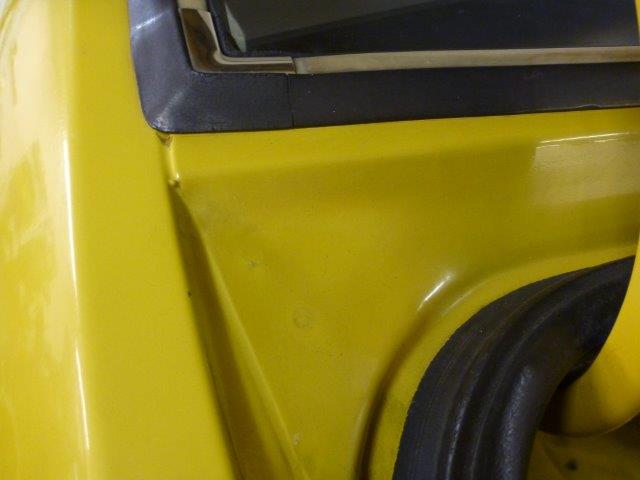
This looks very promising 🙂
Next there will be a cool surprise in the glove compartment and even some pretty amazing paperwork to follow..
____________________________________________________________________________________
This car is a time machine and like any other time machines you will find leftovers from the past.
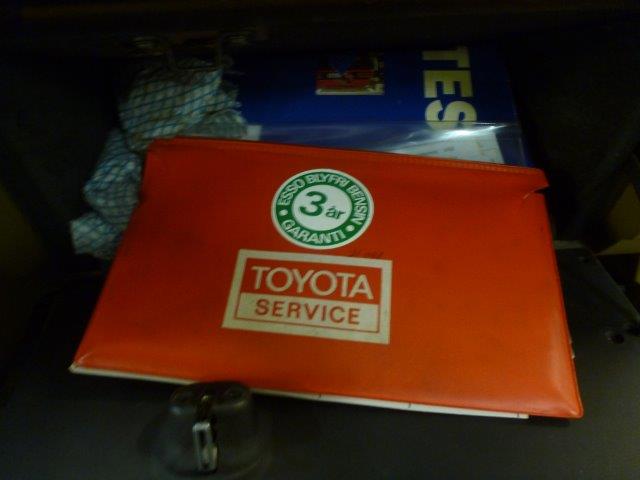
Here is what the elderly man had in the lover shelf in the dashboard :
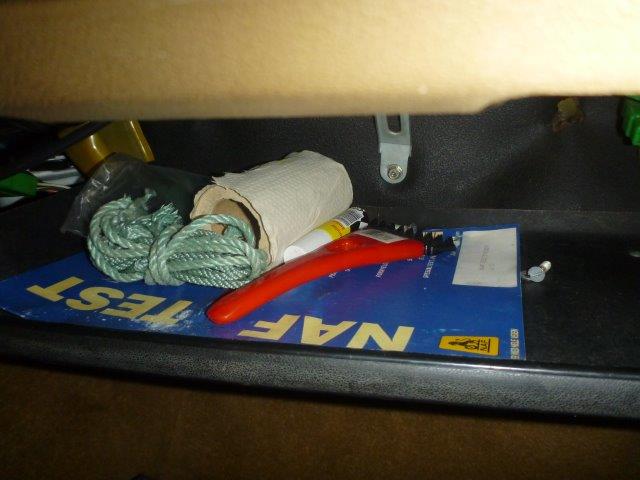
You never know when stuff like this can come in handy 🙂

Paper , ice scrape , some rope , matches and lock spray….always prepared. maybe he was an old boyscout ?
And the owner was certainly a fantatic when it came to testing his car at N.A.F. ( Norwegian Automobile acc ) as i find items related to this activity everywhere :


In the windscreen You can see how many times he has tested the condition of his car :
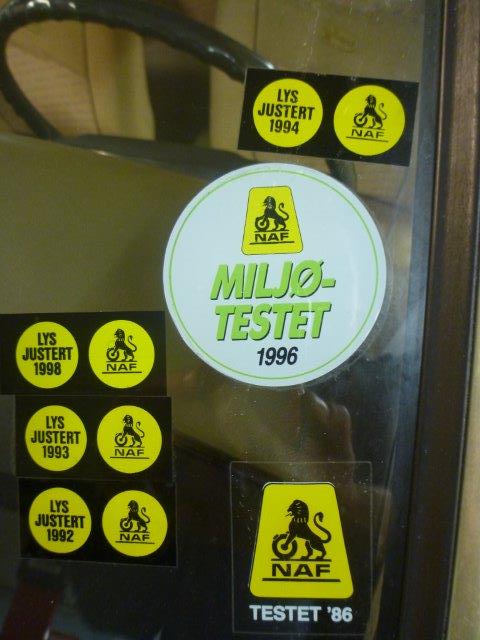
Test , test , test and tested 🙂
Also found this little timecapsule on the dash :
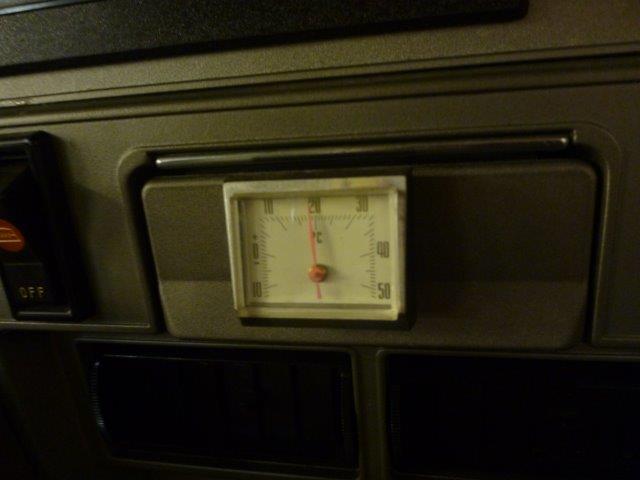
Yes , why not know just how cold it is inside Your car 🙂
Then , into the most secret compartments of the all : glove compartment :
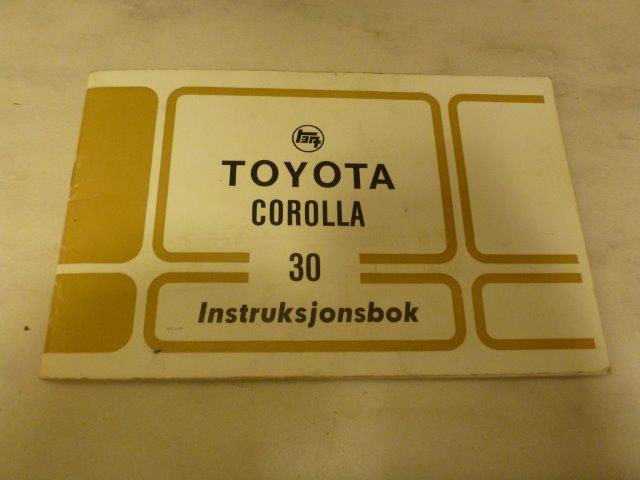
Of course the obligatory original manual for the car , in perfect condition :
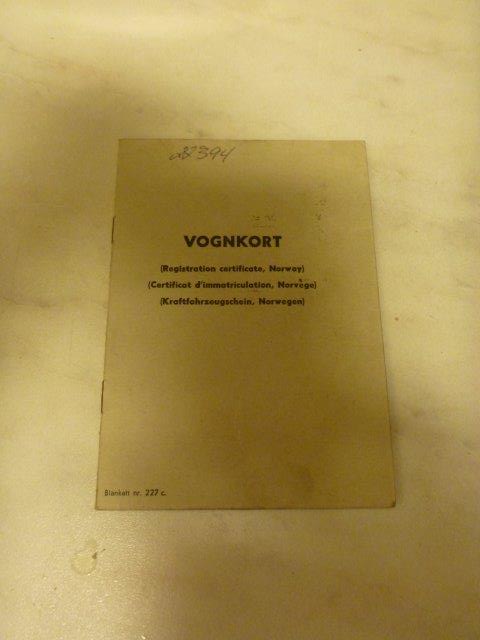
The first and original vehicle registration booklet :
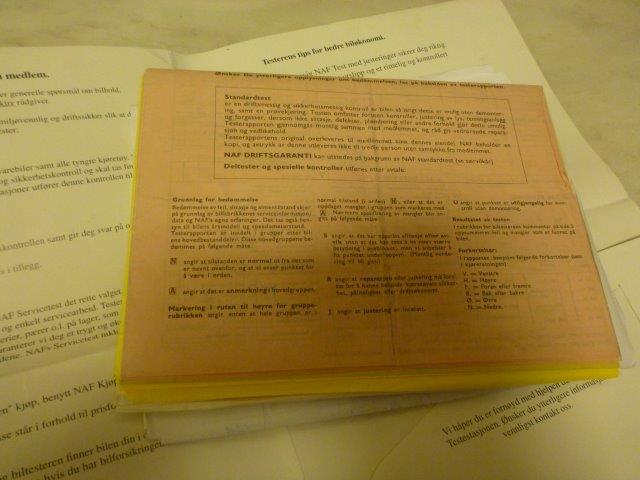
A stack of , yes you guessed it , test papers from N.A.F. :
And then the original reciept and invoice from the day the car was bought 🙂
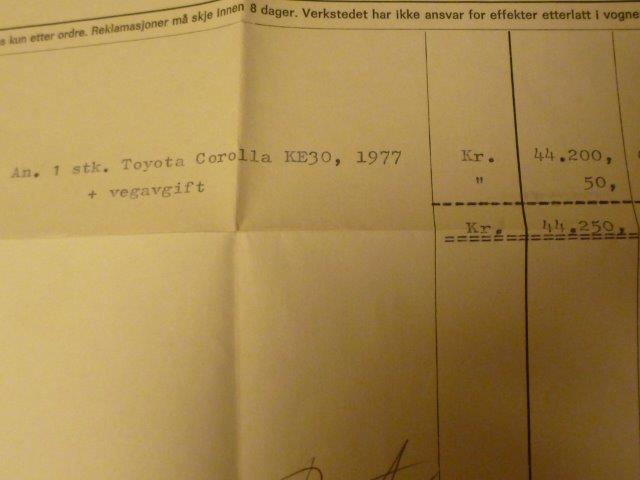
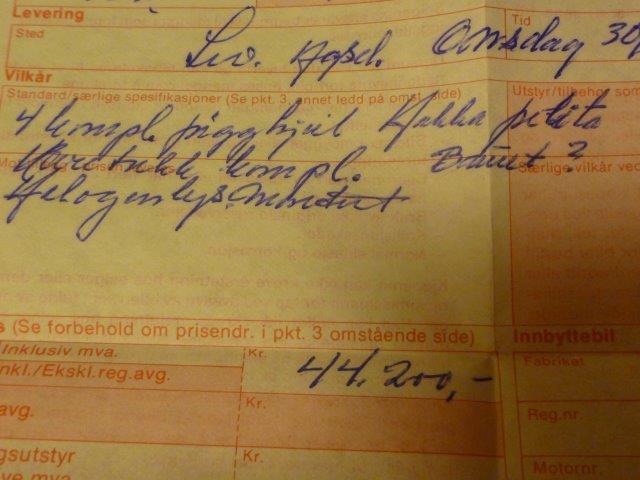
Is that cool or what ? 🙂
More to come soon.
_______________________________________________________________________
Chapter 3 :
THE SHINING :
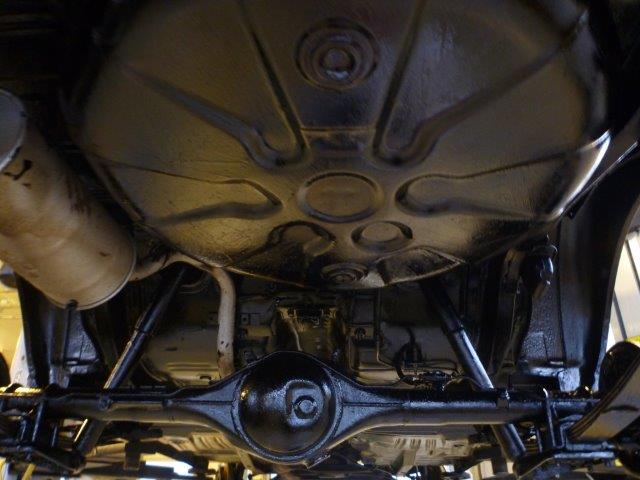
Now that the car has been washed properly and and i even washed it very thoroughly underneath and as it turns out to be so fine i feel the need to preserve both the paint nd the underside of the car.
So after some intensive scrubbing and drying of the underneath a cover the hole car with special body coat and it starts to look very Nice under there :
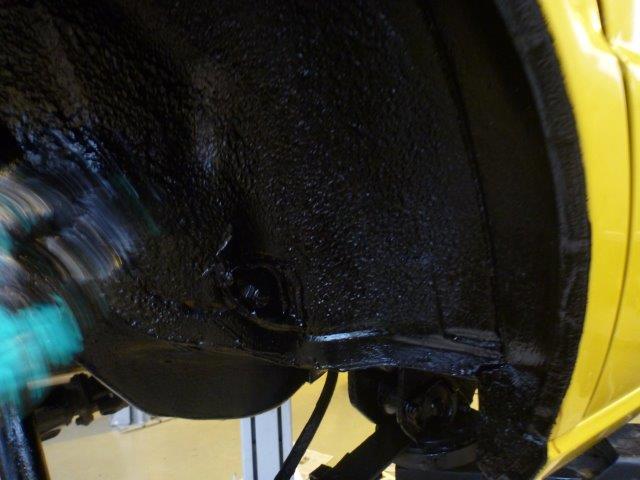
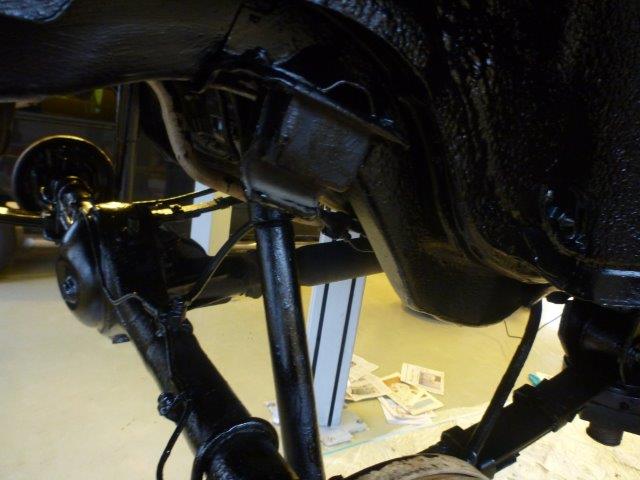
No rust what so ever here 🙂
Then for the paint refurbishing i will not even try to do that kind of work as i realy dont know how to anyway.
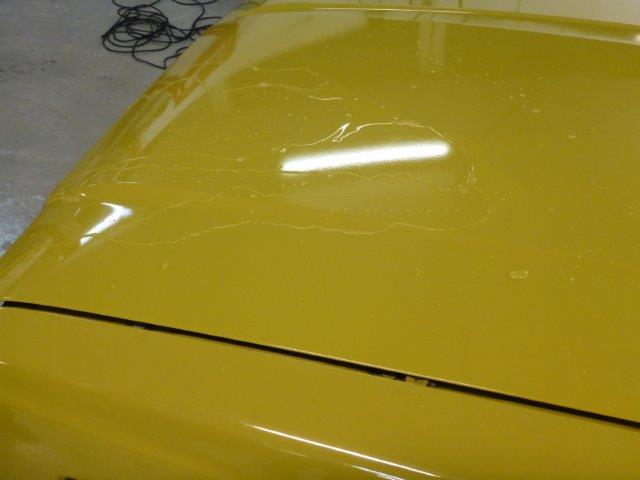
But lets have a look at the paintwork as it is :
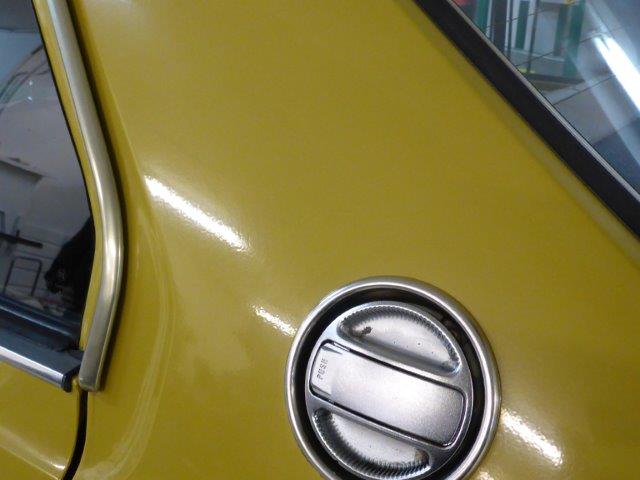
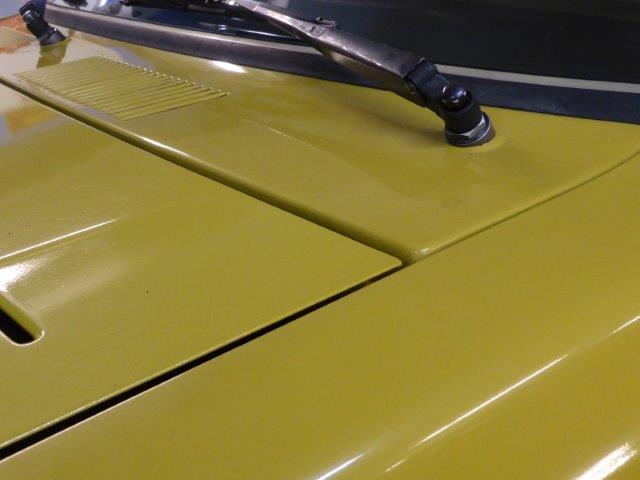
Not to bad but it need some more ,,shine , and some protective stuff on the top of the paint. You know , as when the water spreads out in small droplets after a downpour.
As i am so busy building engines for my customers i called a good friend of mine who realy knows how to work with the paint. He is a professionell detailer who normally Works on much more insane cars than mine but we have exhanged some work in the past me doing engine work for him and he helps out with the itchy paint work.
«I dont need a perfect show shine. rather a good scrubb and some polish topped of with some decent wax on top»,,i said when he arrived.
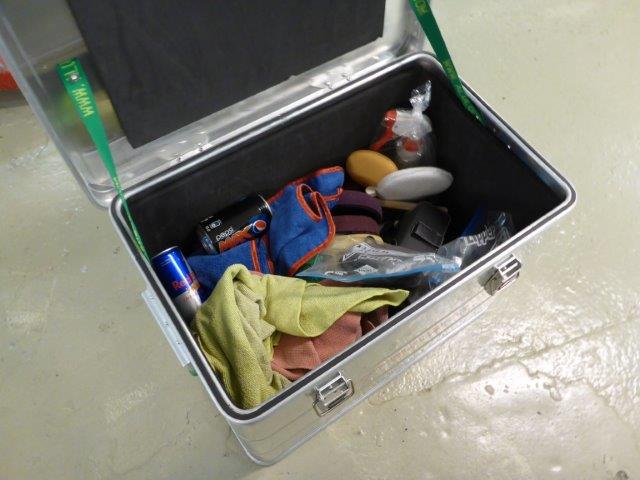
No problemas he answered and brought out his mobil first aid box for old boring cars like mine 🙂
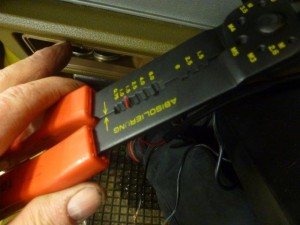
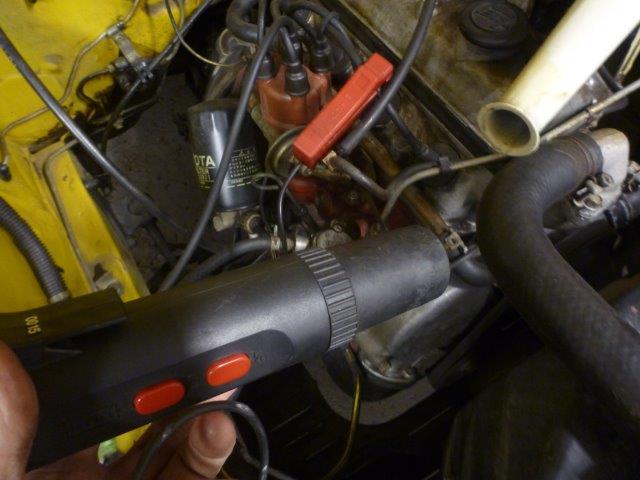
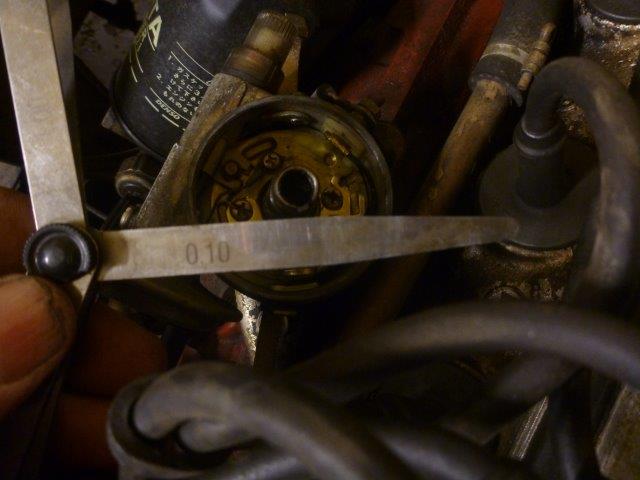
First thing he did was to grab a pretty neat little tool to measure the thickness of the paint so that he knows more about what he is working on :
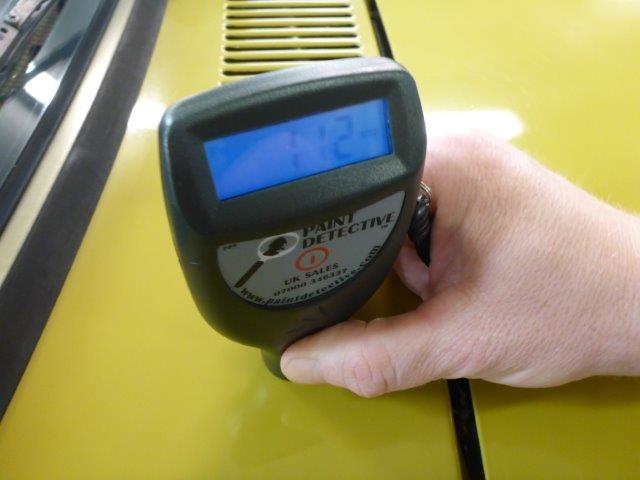
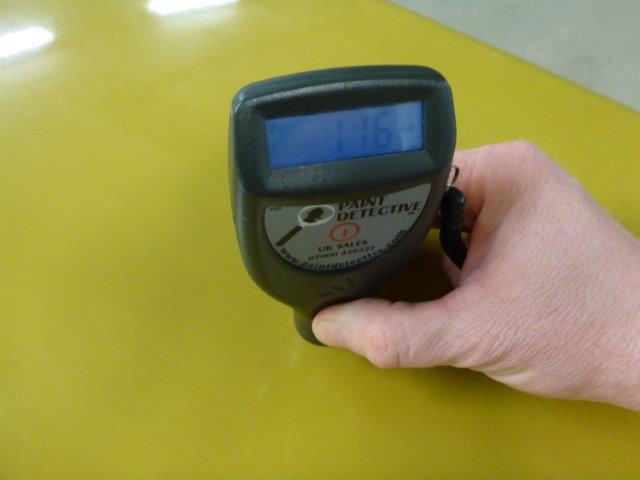
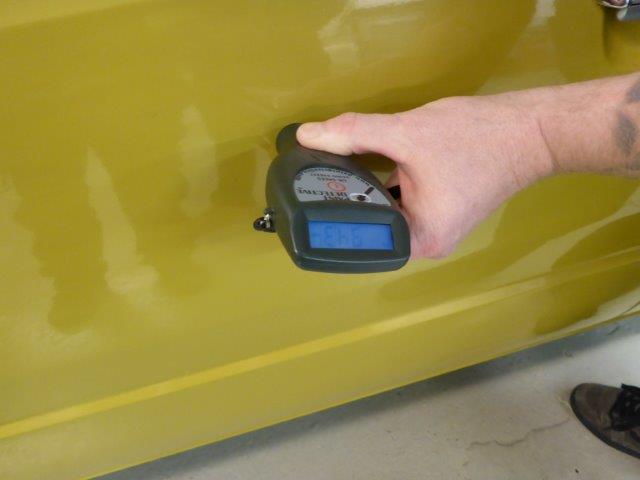
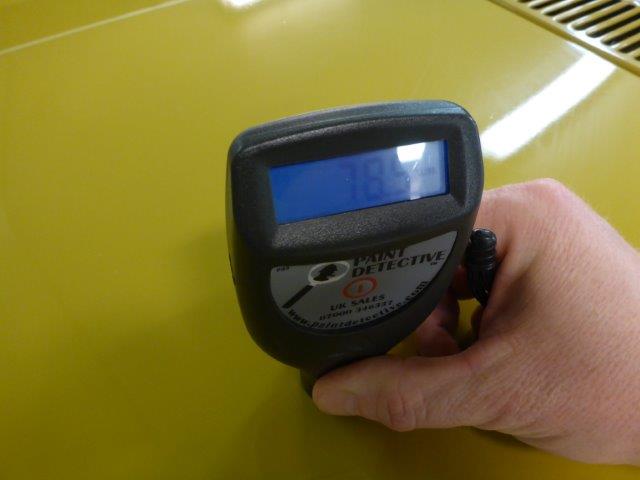
When he has scanned the whole car he makes some notes of the data and tells me that the car has this and that thickness of paint and i dont understand a nobby of what he says and just smile not to make a foul of myself 🙂
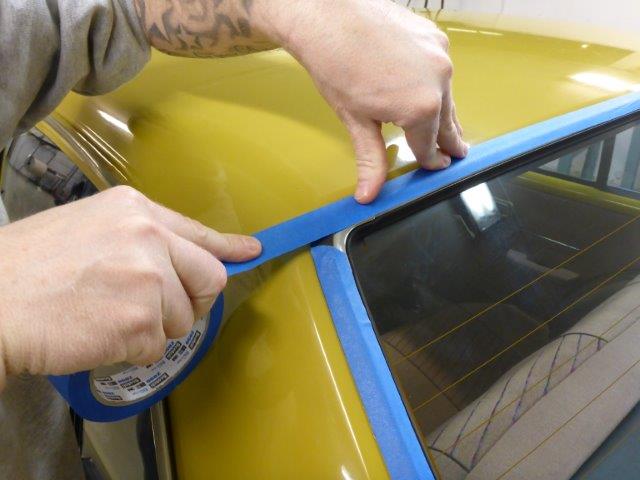
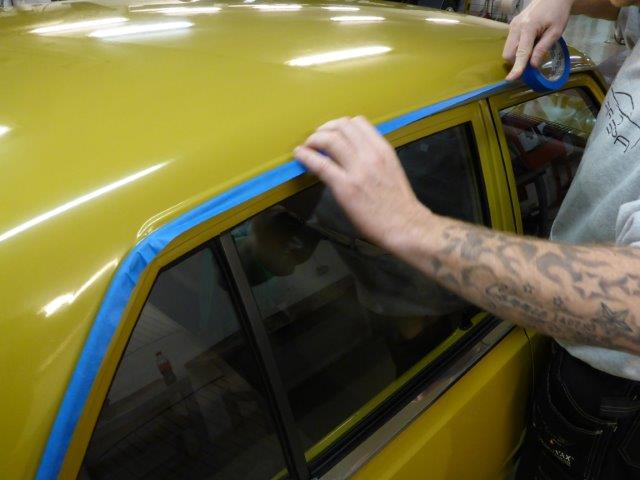
Then he feels the paint with his Magic hands and starts taping something all over the rubber trimmings and stuff :
After that he uses something like this :
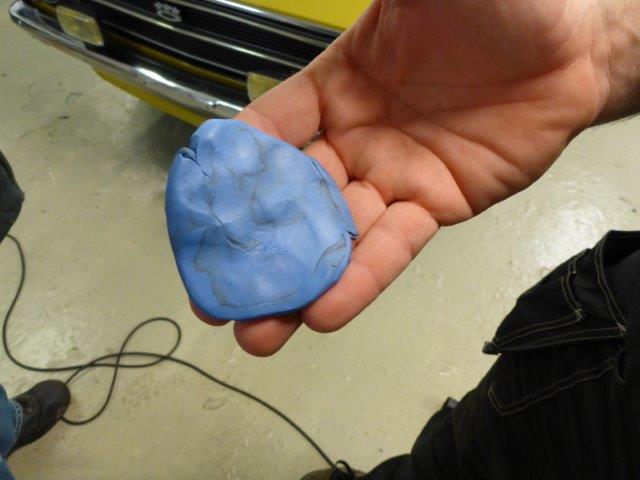
I wonder if he stole that from his son`s room ? 🙂
To me it looks like a lump of kids playing clay but it is a important tool of a detailer,,,he says.
I cant argue with that and smile al little bit more..
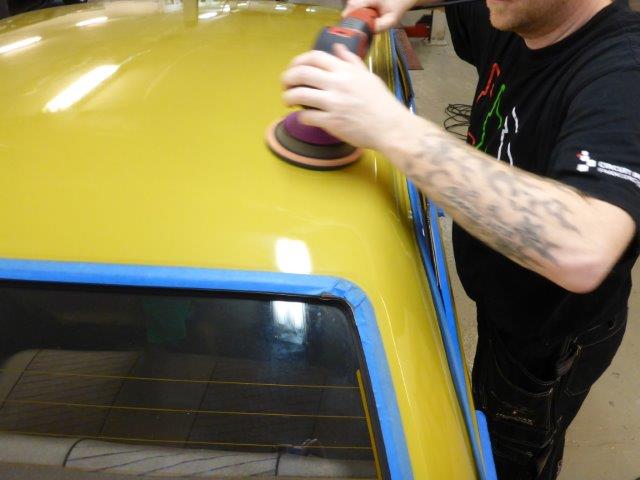
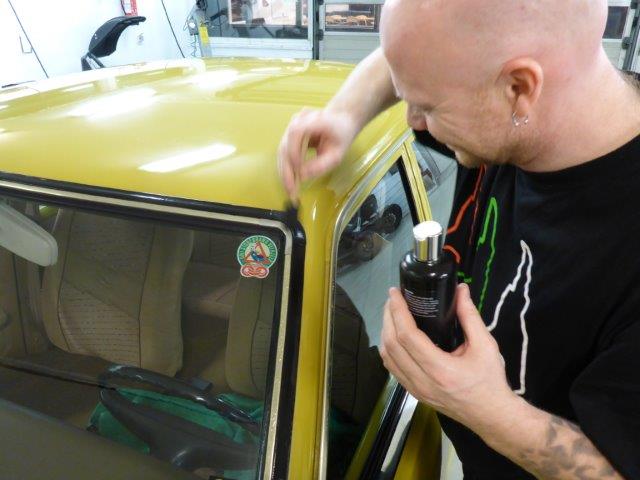
Then he starts doing something with this bottle and a machine :

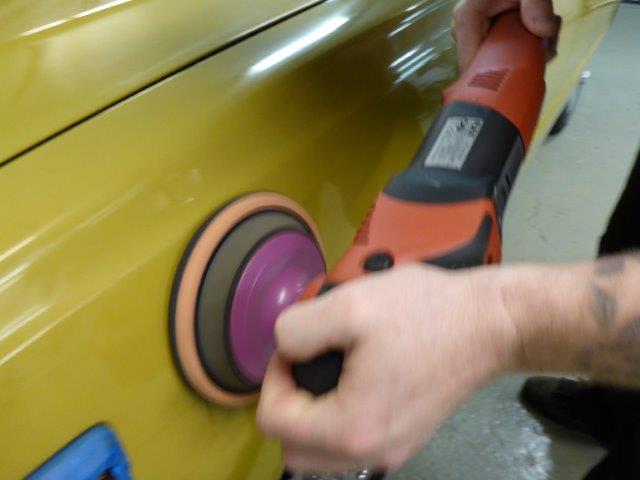
This is what i am scared of doing mysself. Attacking the car with this thingymachine and just burn my way through the paint.
Much rather see him doing it 🙂
Neverthelss he is working himself around the bends and straights with this scary machine :
__________________________________________________________________________
22 Okt 2014
Finally got time to post some more pictures of this wonderful grandma car 🙂
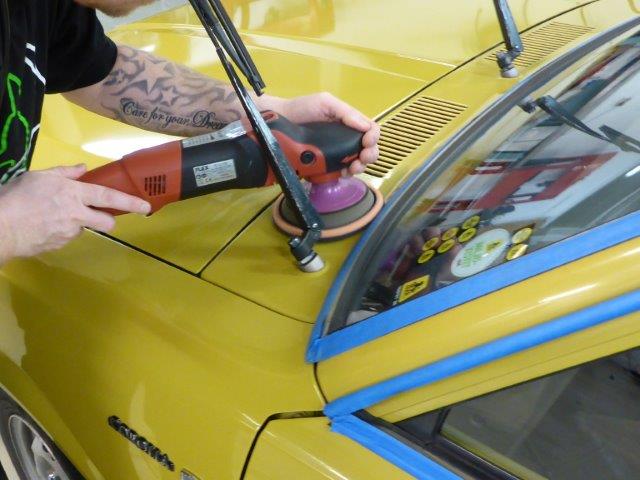
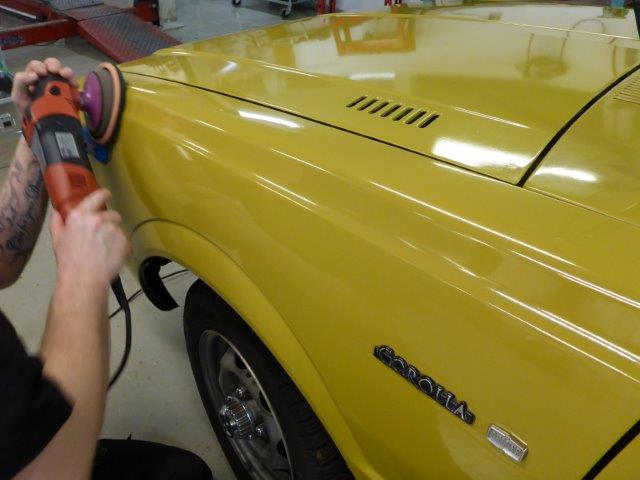
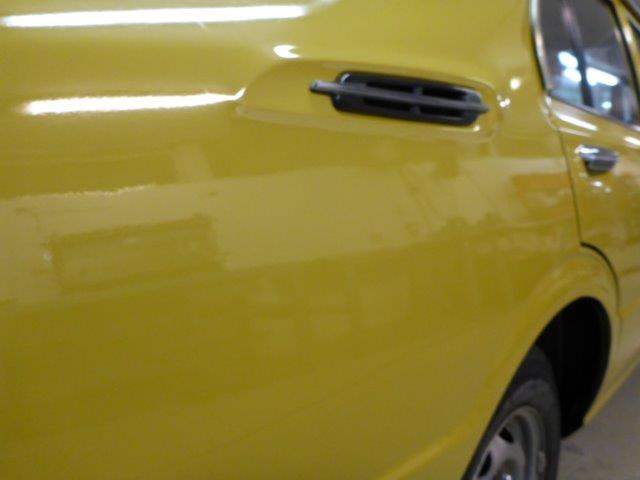
The » polish guy realy goas at it in every way :

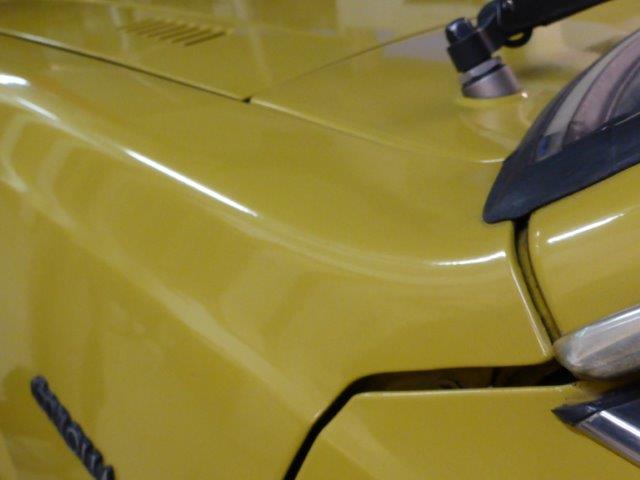
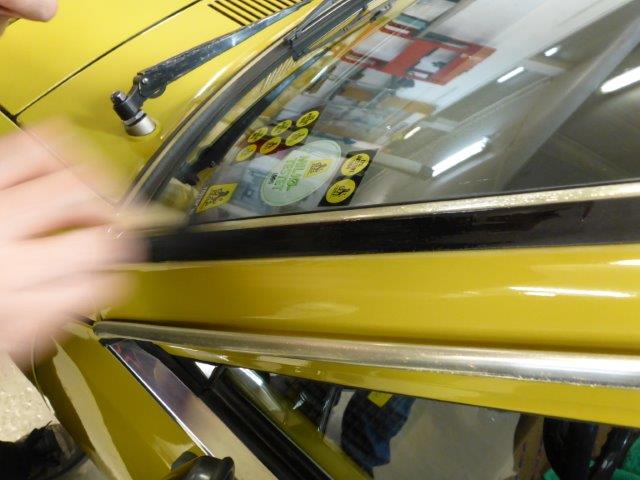
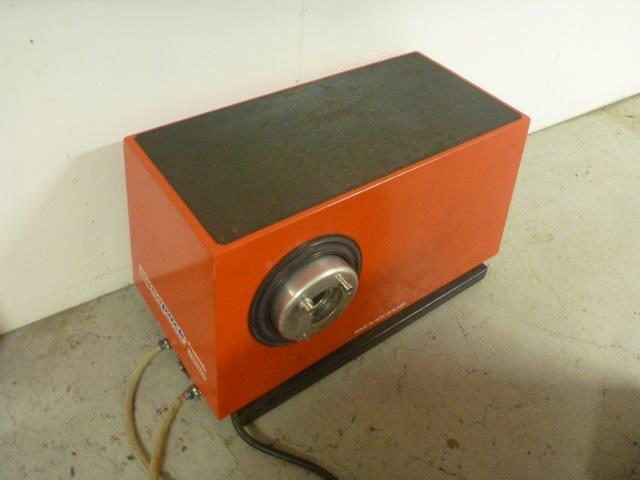
When he is finsihed he brings out this Magic little Box and it ie easy to see the result :
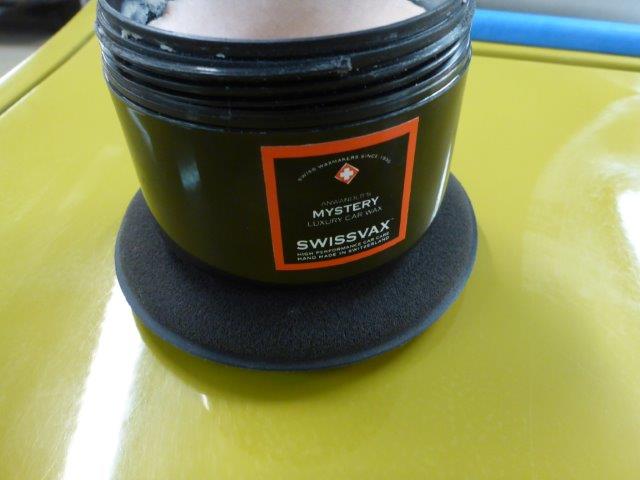
Splashing some water on the Hood shows that there is both shine and protection now on top of the paint !
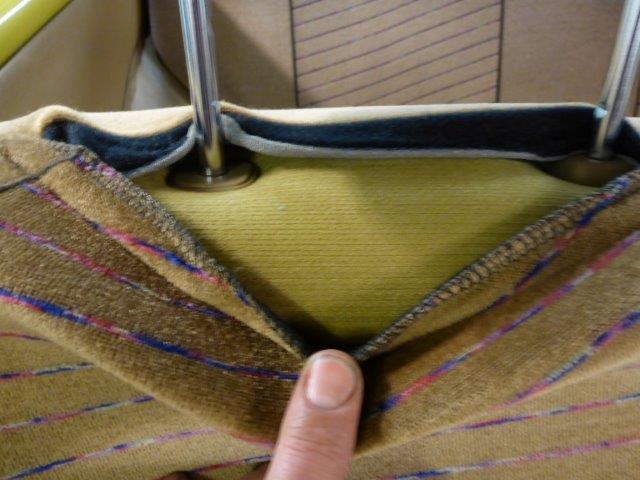
One cool small detail that the supershiner found was that the car has seat covers.
i did not know that and underneath it looks brand spanking New 🙂

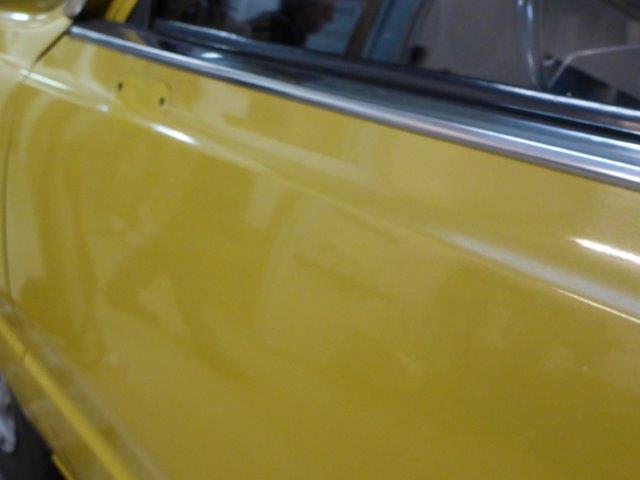
He does some finishing touches with the rubber thingys :
And voila here is the result :
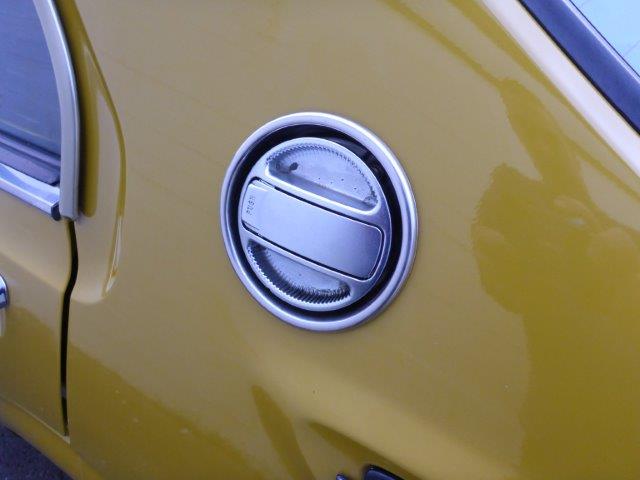
That guy realy know his stuff !
Just have to thank Tommy for doing a superb job !
Now i can go out and drive this car with a smile on my face and claning it in the future will be walk in the park 🙂
—————————————————————————————————————————————-
Chapter 4
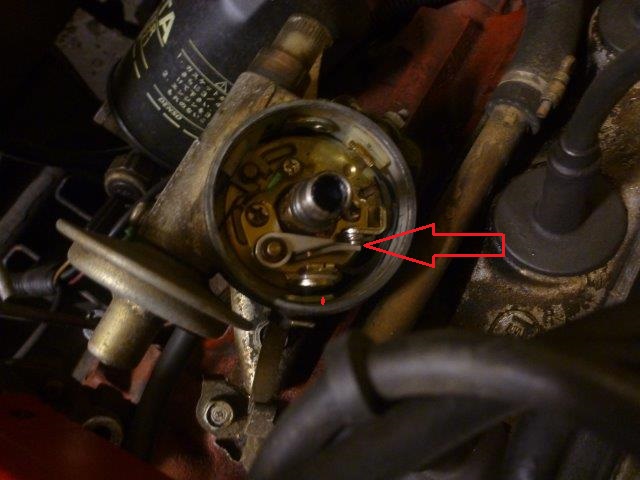
THE AWAKENING
I have promised myself that this car is going to have a luxury life.
No intensitiy , no worries and no insane engine tuning to scare the pants of this wonderful little car.
But..i have to admint that i am a bit curious of what lurks under the hood in form of power.
When i say power i do not mean mega massive utlra power.
Rather tiny puny small sweat power.
You know , like the biceps of a squirl or something 🙂
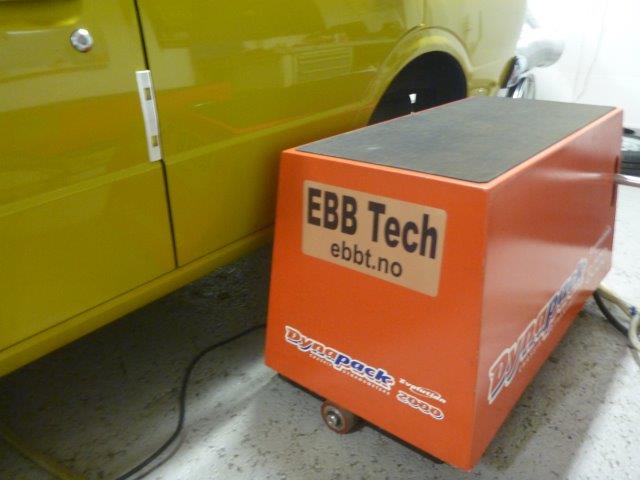
As i happen to have a Dynapack why not check out the power in the GO-ROLLA .
_________________________________________________________—
So now it is time to see how many horses that hides in this small 1200 ccm3 engine .
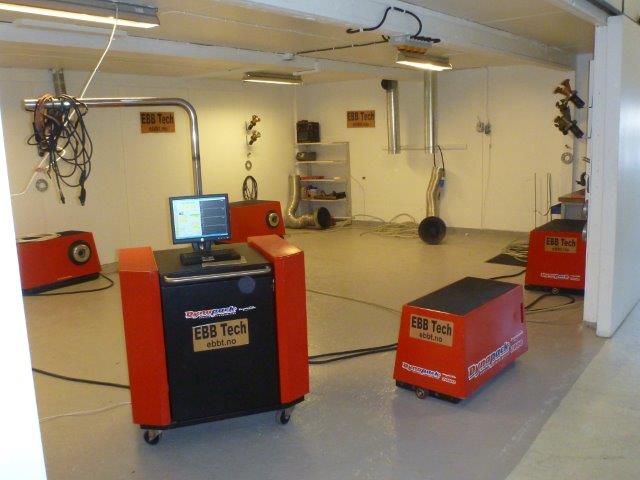
Well ,at least it is 1166 ccm3 🙂
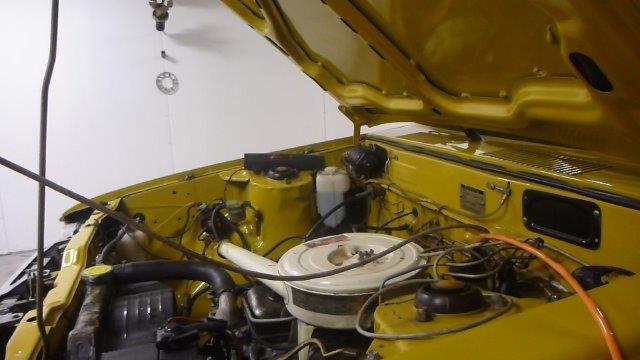
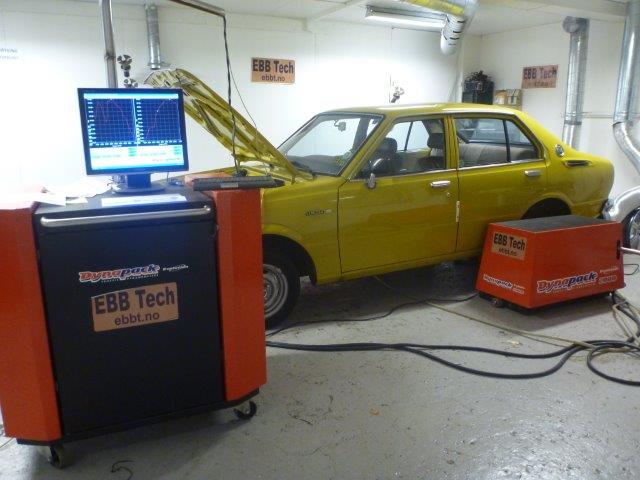
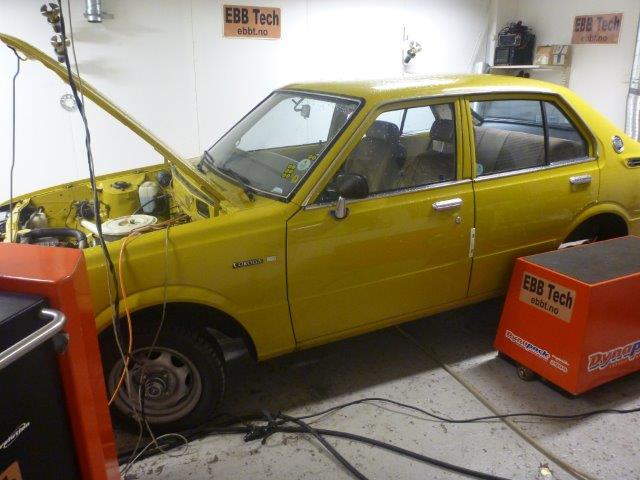
Anyway , this is the Gorolla at the » room of doom » at EBB TECH:
This session on my Dynapack is only going to be the first step in a small adventure towards something exiting in the future.
But let us start the process of measuring the Power output in this oldtimer.
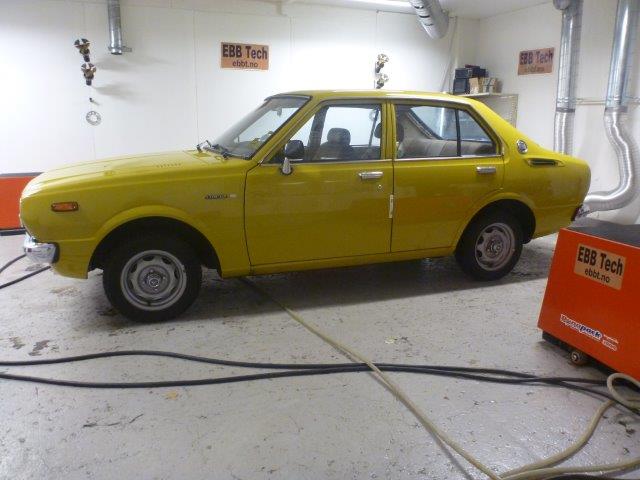
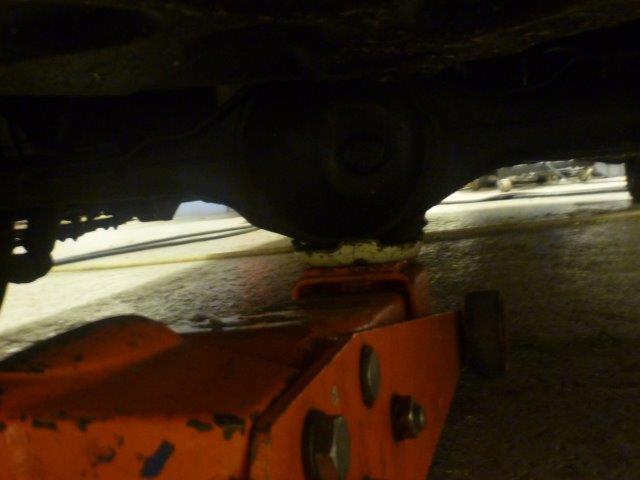
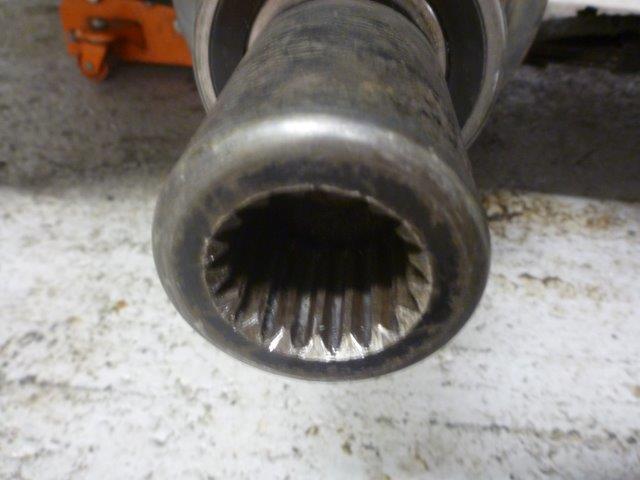
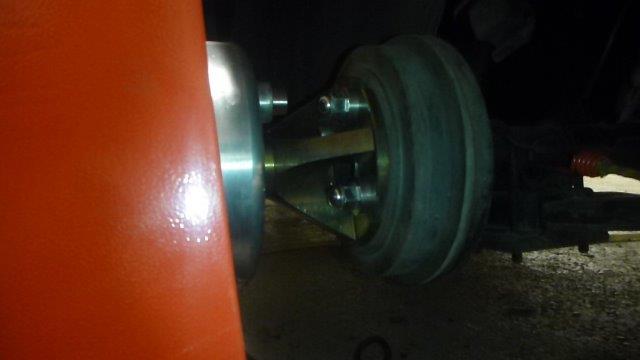
The car is going to be tested throught the rear Wheels , directly to the hubs.
By doing this one avoids all the problems With strapping dwon the car , tire pressure influence , spinning tires ( hardly here ) and other issues With rolling road dynos.
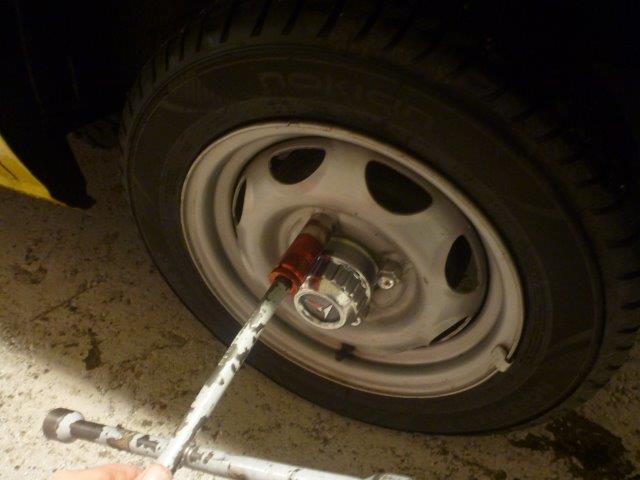
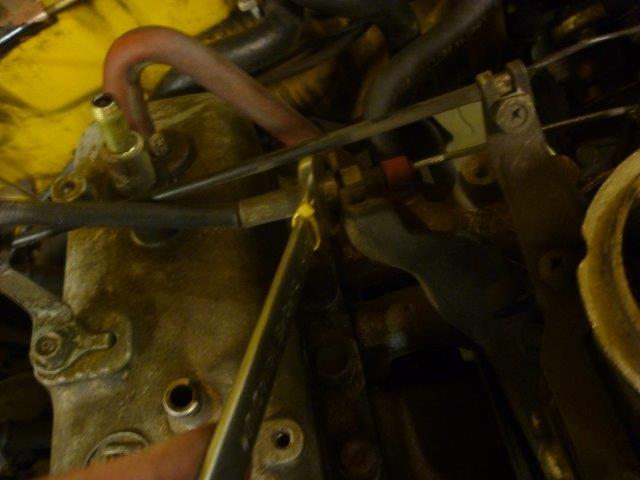
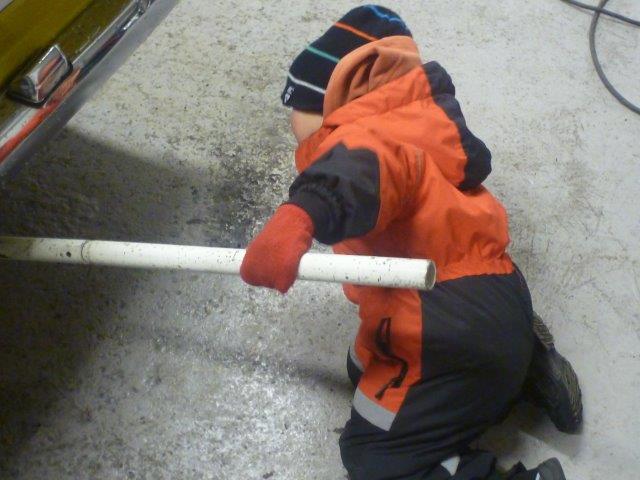
First i need to loosen the Wheel bolts and Jack the car up :
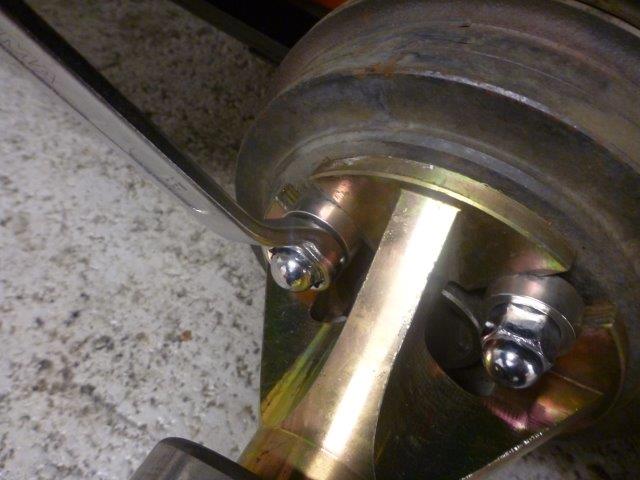
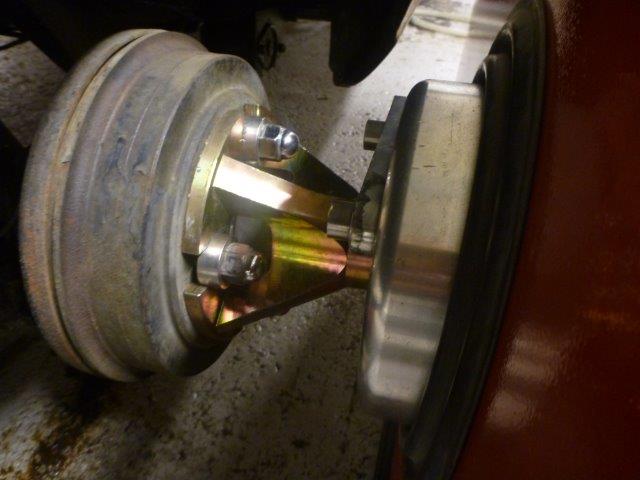
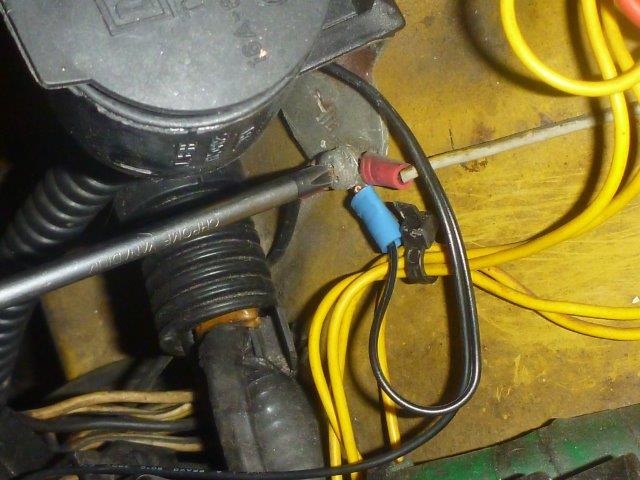
After the Wheels are off i can then Mount on each side these hubs that self centre on the mounting flanges using the bolts :
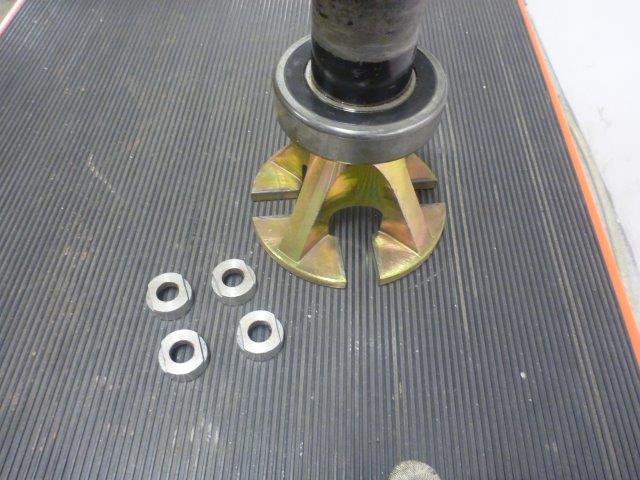
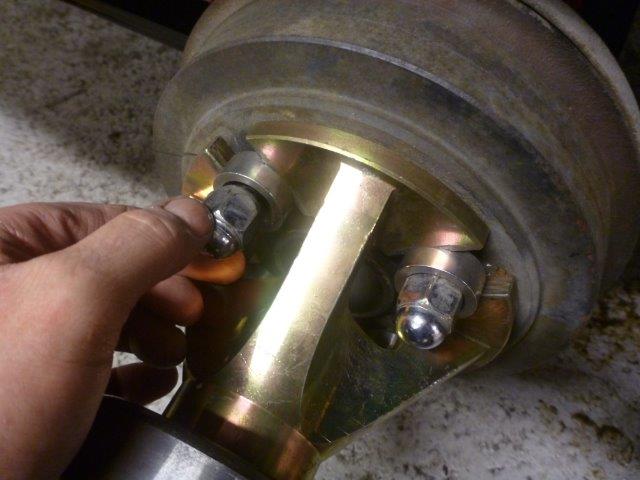
These adapters will connect the driven axels to the Dynapack like this :
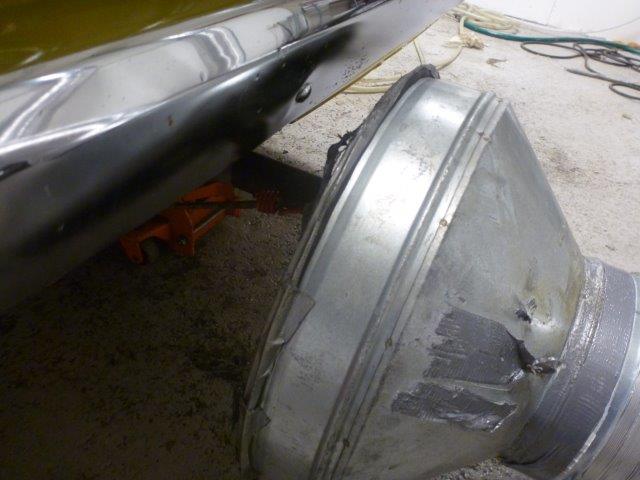
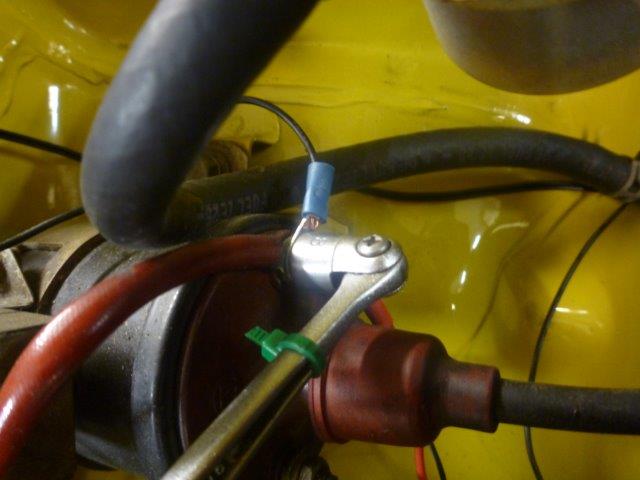
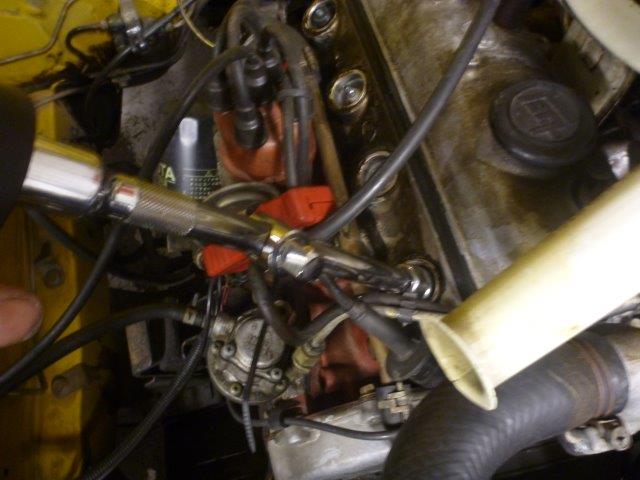
In the rear i connect a wideband sensor to sniff the outcoming fumes and a fan sucking out the exhaust :
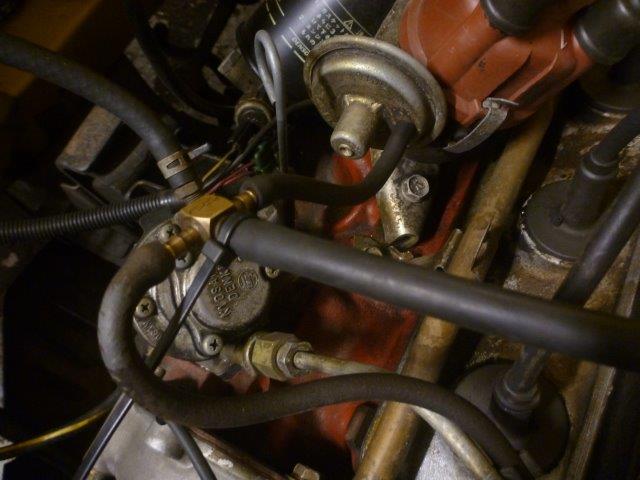
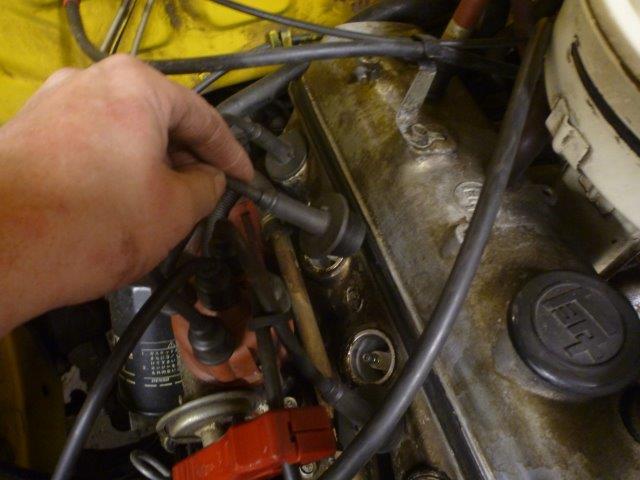
In the front i hook up some stuff to feel the vaccum from the engine and a big fan to cool the engine :
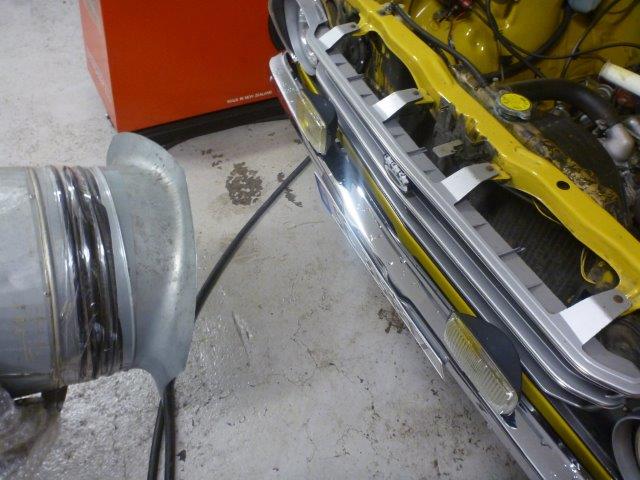
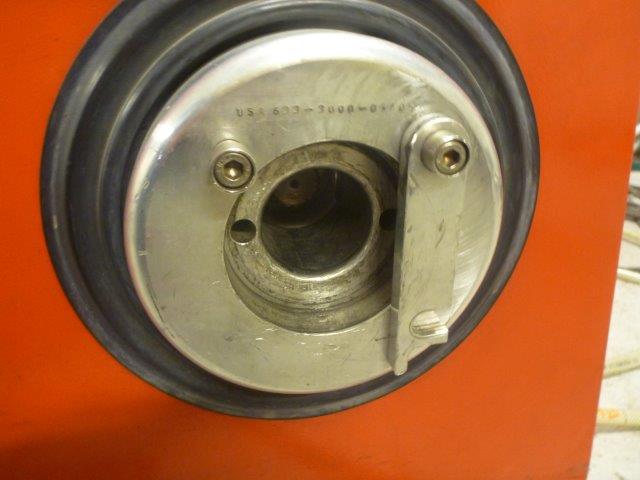
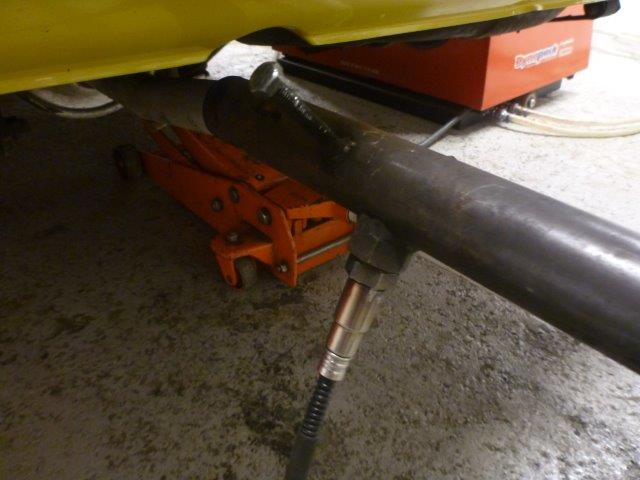
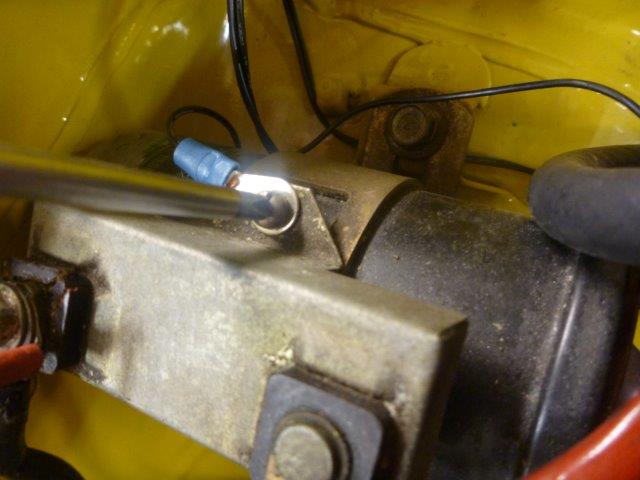
Here is the measuring unit before Connected and locked onto the cars rear axle :
So now i am ready to measure the cars potential 🙂
————————————————————————————————————————–
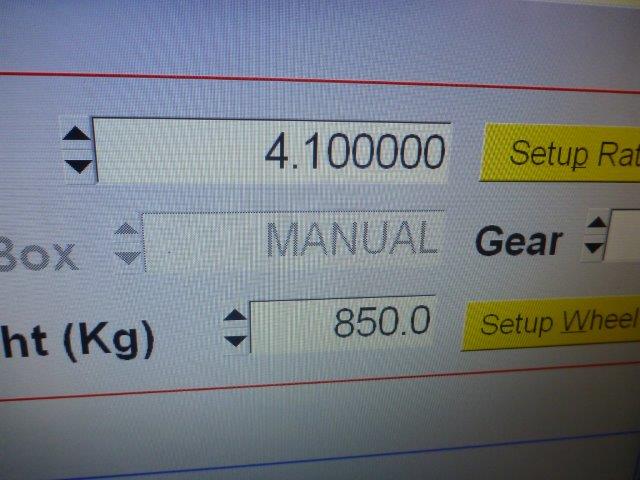
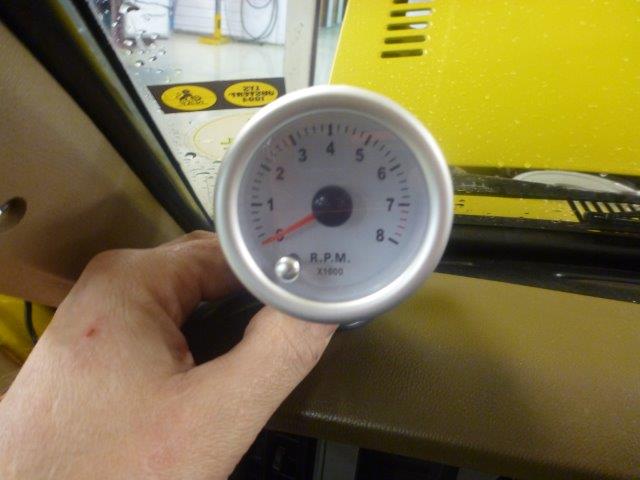
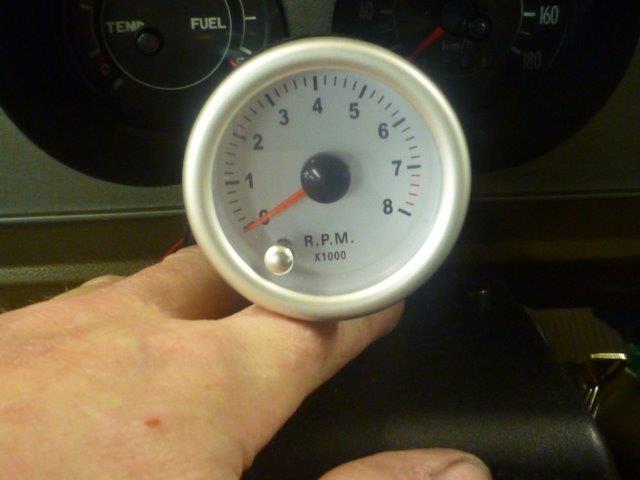
Before i can start measuring the power unleashed in this grandma car i will need to make some inputs intot the computer.
Defining the gir ratio for the machine to work with and what rpm to start and stop the test at are some of the info the machine needs to know :

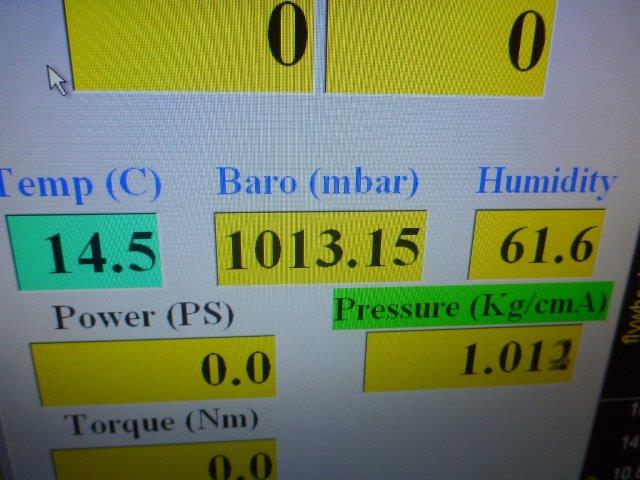
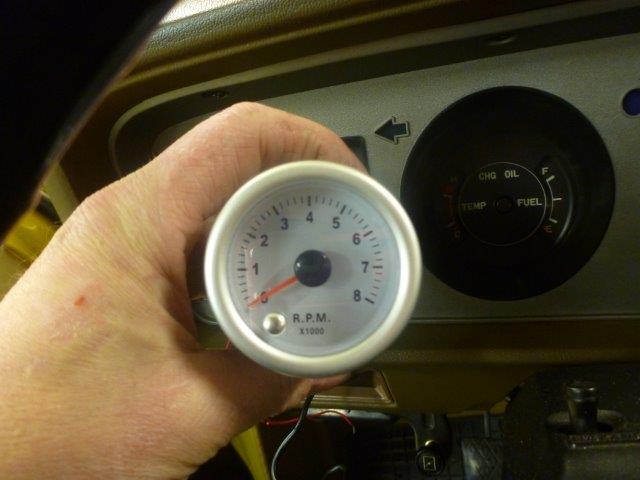
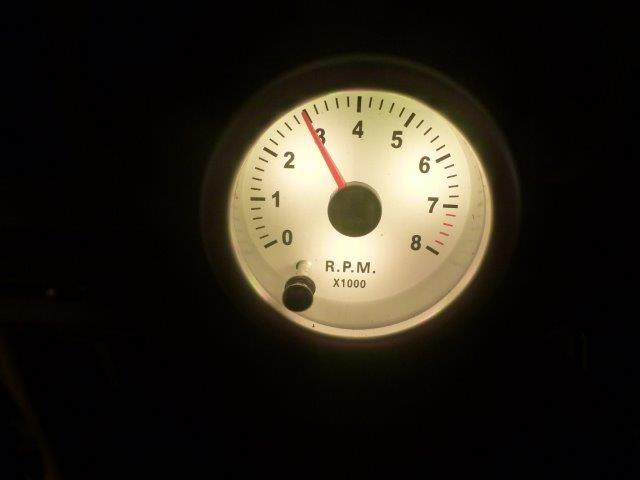
The machine will as i og along give me truetime info on many parameters :
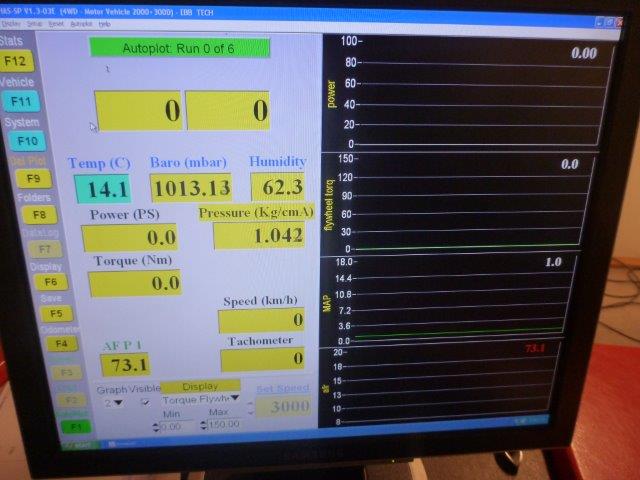
It will correct all data by using its own weather station and software for other details neede to calculate every minute result :

There , last button pushed and i am ready for the first run on the Dyno 🙂
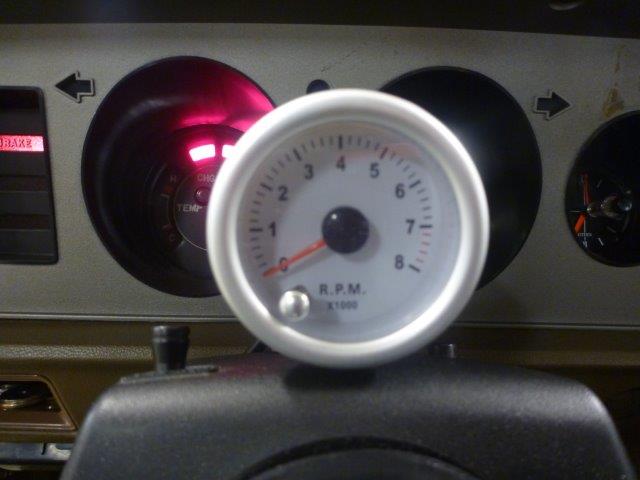
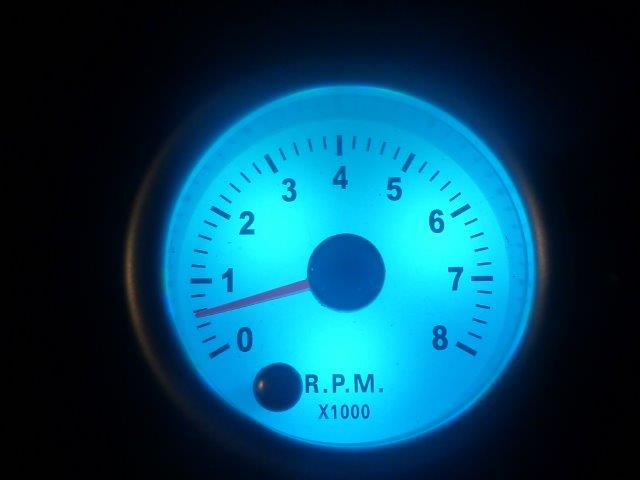
Here is a small video of the first run :
woheyy !
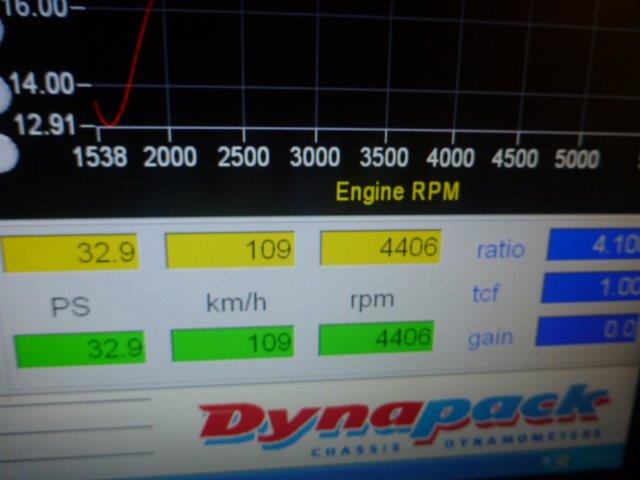
This is the project`s first Dyno run and what a killer :

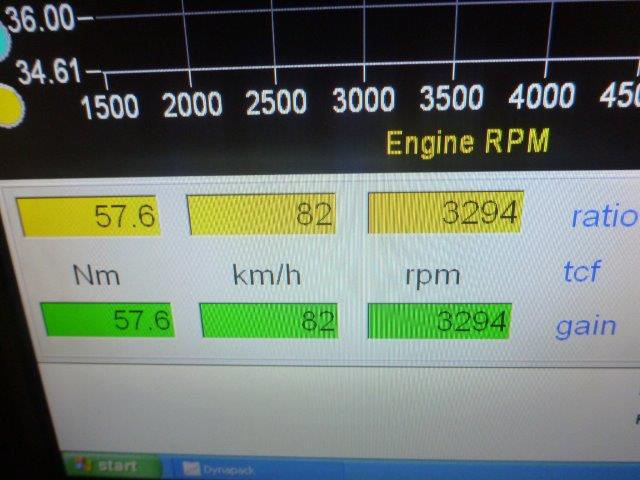
All PS numbers are at the Wheel / hub and Nm @ flywheel ( NM = without drivetrain losses but ratio corrected )
What can i say,,,jihaa,,or lol 🙂
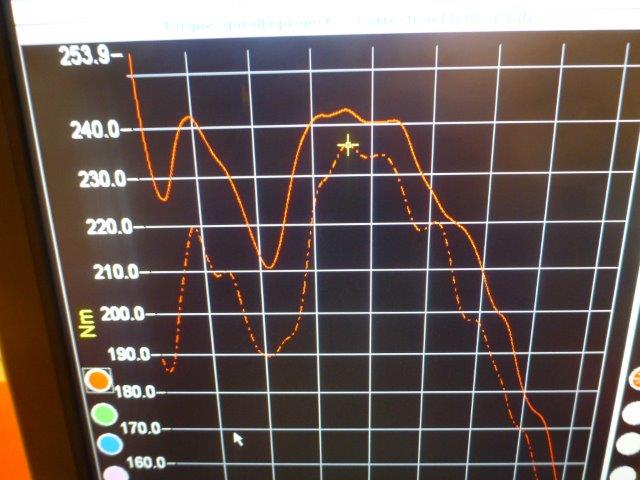
I did try a couple of more runs but it didnt change a lot so here it is in paper form :
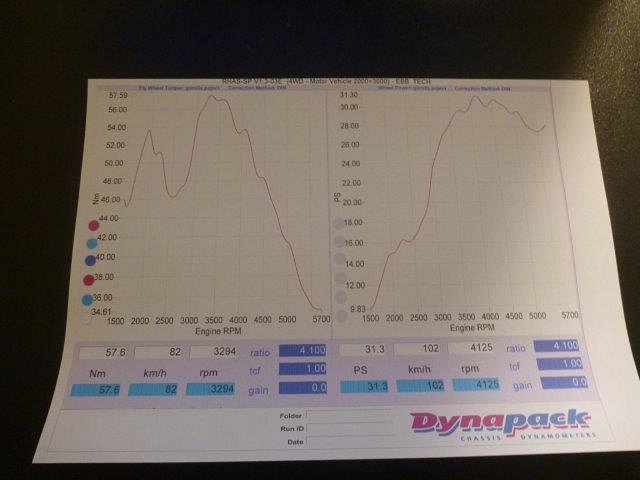
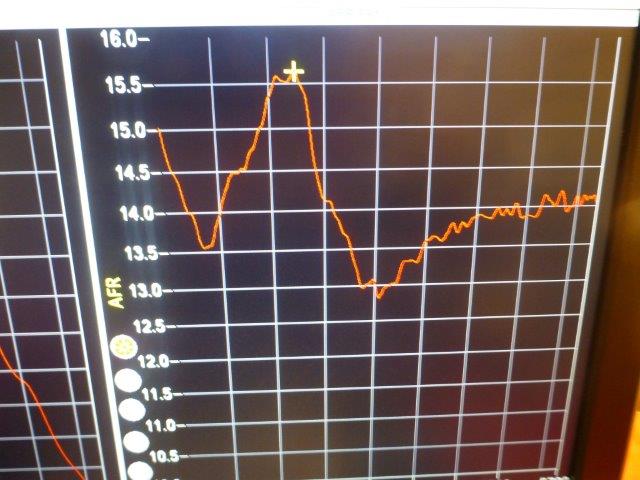
A massive dip in both Power and torque around 2000-2600 rpm.
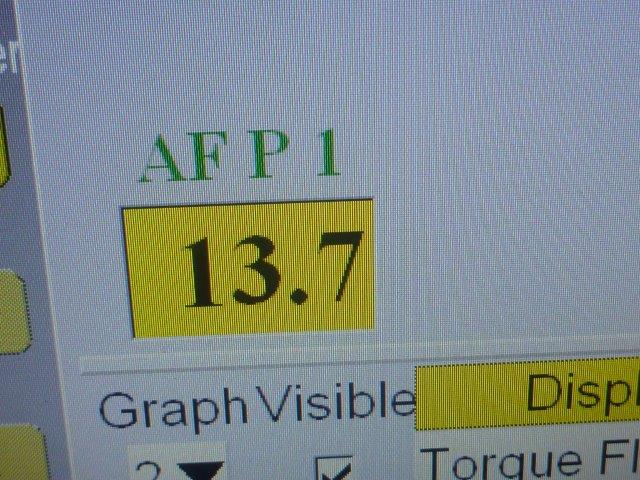
Probably a result of this AFR readout :
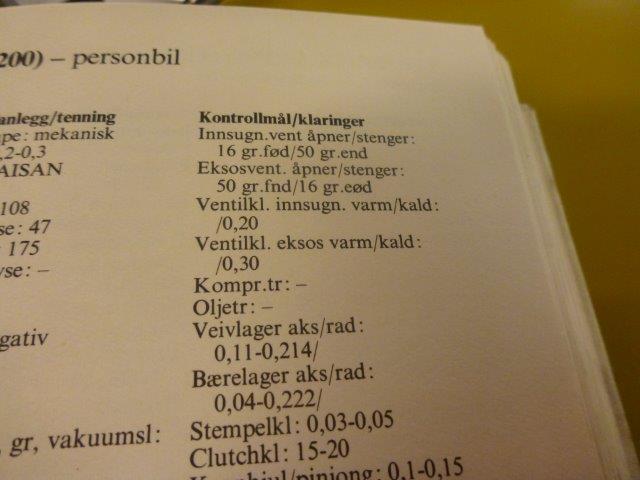
A quick look at a referens online for this engine shows a totally differnt power and torque level :
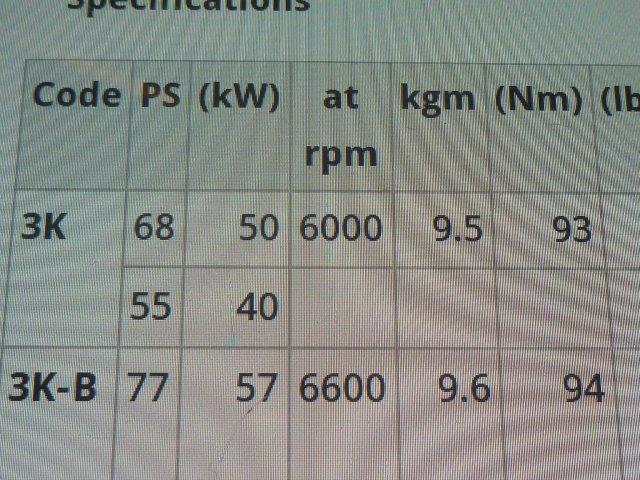
55 PS and 93 Nm.
But lets look at this in another perspctive.
The factory numbers are power at flywheel. So we got 31,3 WPS and factory has 55 PS @ flywheel.
Difference is almost 22 PS.
Then lets look quick at the » Maxi Micra » project on my website here :
https://www.ebbt.no/ebbs-maxi-micra-project/
In this project we saw that the Nissan 1,3 liter engine was 73 PS from factory @ flywheel but only 52@wheels on the Dynapack , so there is some comparison basis between them regarding drivetrain losses.
73 minus 52 = 21 PS
So does that mean that all the difference between Toyotas numbers 55 PS in engine and » mine » 31 PS on Wheels are all drivetrain losses ?
No , but all i am saying is that there are some losses , it is inevitable , but i can not guarantee precisely how much is drivetrain losse and how much is , lets just say ; bad engine performance.
Actually it realy doesnt matter as my goal is to find a base line from which i will start my work in getting the WPS higher.
Well , that ladies and gentlemen , has already started so next update will show just that 🙂
————————————————————————————————————————————


2015


VIDEO : P1480274


 del på